
What to expect from a workshop
"For me, the lesson was absolutely perfect. I found you extremely easy to talk to. You explained each process really well, and it was easy to ask you questions."
"A great way to spend a Saturday morning, very relaxed and easy to understand/get involved with. Plus you come away with a beautiful unique piece of jewellery at the end of it. "
"I love my creation and I will be back. Thank you so much for a fantastic experience."
There are a few workshops for you to try your hand at creating something new, (as listed here). If you are unsure of anything, I am always at the end of an email ready to answer your questions - no question is a silly question.
On the day you will learn how to make your item from scratch and gain an understanding of silversmithing tools and processes.
I have a selection of examples ready for when you arrive, so you can have a look and get a better idea of what you can achieve. I head off to make you a drink and leave you to relax, and have a proper look at the examples. I feel its important to give you time alone with these, it gives you a chance to get used to your surroundings and also means you don’t feel like you can’t pick them up and take a good look because I’m watching! My priority is you feeling comfortable.
These processes including piercing (sawing/cutting), texturing, annealing (heating), forming, soldering, filing and polishing. Don’t worry if this sounds daunting, I demonstrate every step and ensure you are comfortable before working through it on your own. By the end of the session you will be confident enough to manage all steps.
If there are any processes you would prefer not to do, just let me know and I can do them for you. The lesson is informal with the pace being directed by you - we go as fast or as slow as you feel comfortable with.
You won’t get dirty but I always advise not wearing your best clothes. And open shoes are a no no; you will be working with heat and tools so best keep those toes covered up. If you have long hair, you will need to tie it up. You can bring a notebook to take notes, or if you prefer you are welcome to take photographs. Whichever works best for you.
At the end of the session your jewellery will be polished (if that is your chosen finish), then a final clean up then its ready for you to wear! You will receive a little black bag containing a high quality gift box for your items, which is made from a recycled and recyclable material, a special anti-tarnish cleaning cloth for silver, and a how to care for your silver card.
When you book your lesson we agree on a convenient date and I will send you a little information along with your workshop voucher, on what to expect, what to wear, and where to come.
You can read more about choosing a workshop here.
Get in touch with Suzanne here.

You Will use the following tools - and it doesn't matter if you've never held a tool before in your life, you will be confident with each tool by the end of the session.
-
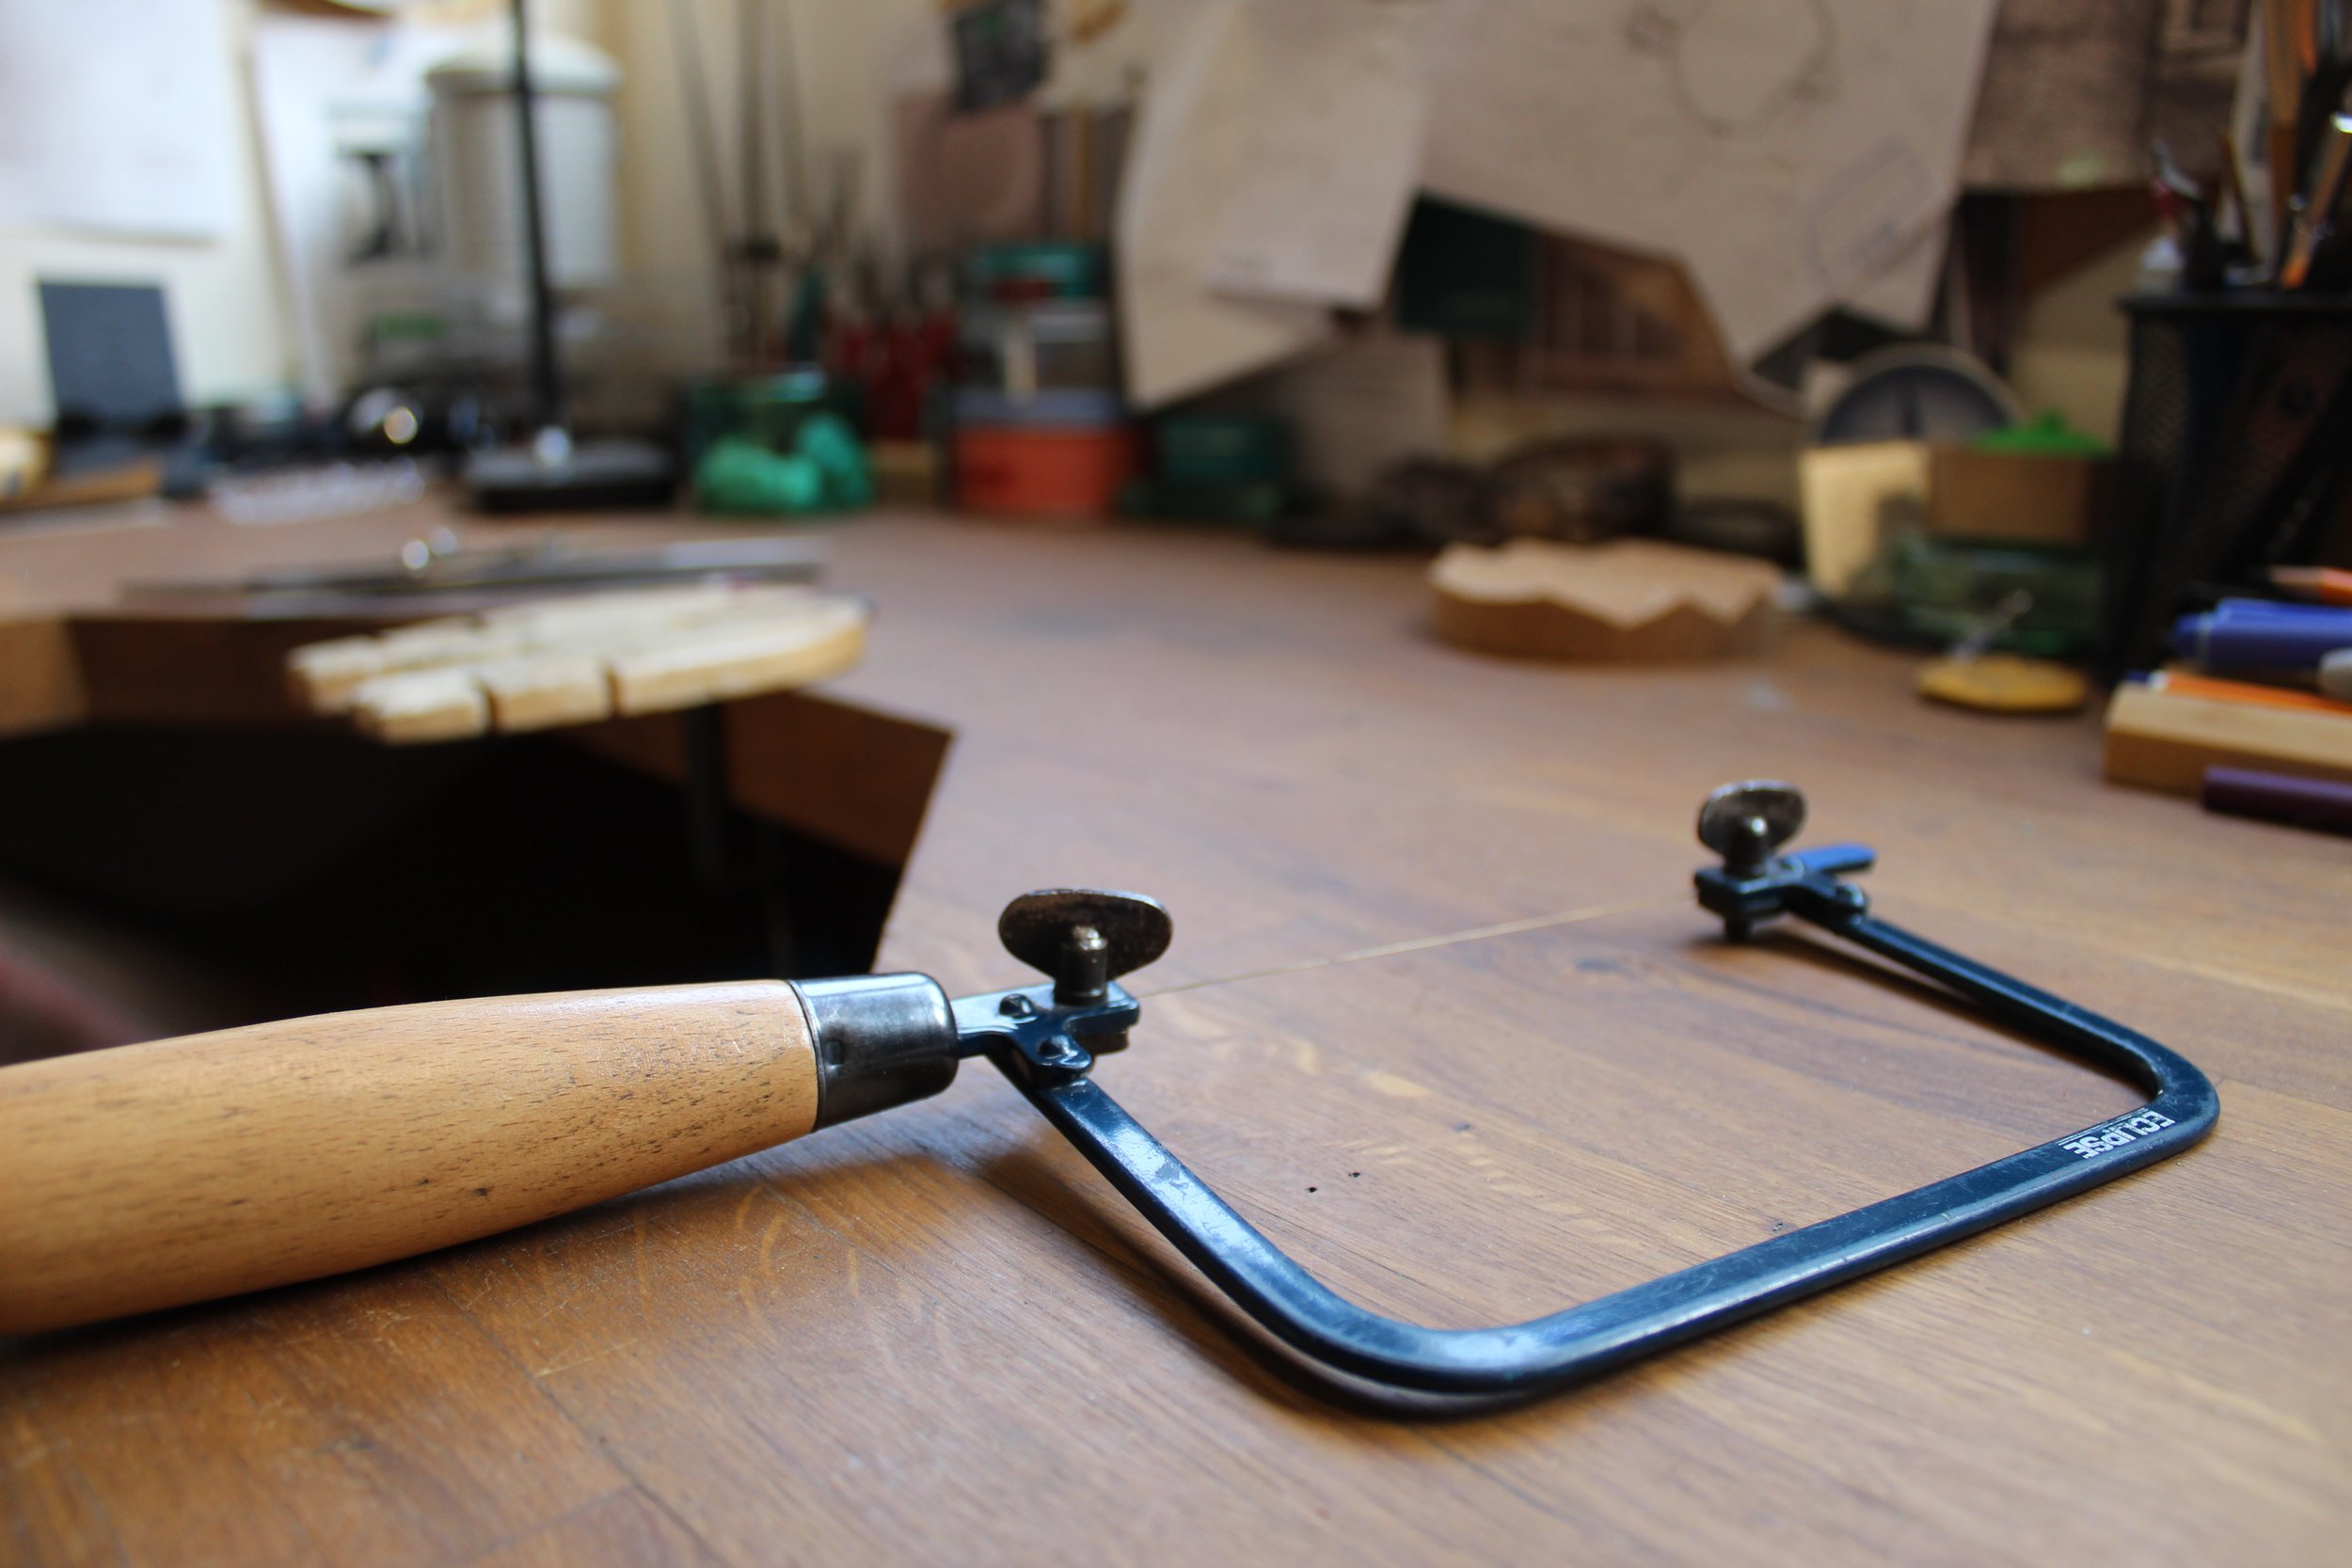
Piercing saw
A small saw used to cut metal with.
-
File
To file rough edges – wet and dry sandpaper is used after files to ensure completely smooth.
-
Hammer
Different hammers create different textures.
-
Solder
The glue. Needs to be heated to a certain temperature to melt, and the metal needs to be the same temperature in order for it to stick to the surfaces.
-
Flux
This helps to de-oxidise and de-grease the surface, which helps the solder to flow.
-
Small Handheld Torch
These have a small flame and are used to heat the metal up to a temperature high enough for the solder to flow and stick.
-
Pickle
Acid. Helps to remove any oxidisation created by the flames and return the surface back to its original state. I hasten to add that even though the pickle is a very diluted acid, so not harmful to touch, I do this bit so you do not have to go near it.
-
Pumice
Gets all the pickle off. Sheet of water, flows off, means fully clean.
-
Mandrel
Tool used to shape the ring into a perfect circle.
-
Mallet
Hammer used to shape the ring on the mandrel, raw hide or nylon as doesn’t mark the metal like a metal hammer does.
Feedback
-
“I love my ring, thank-you! I really enjoyed our session too, it was very comfortable, much more like hanging out with a friend than being in a small room with a stranger”
-
“A fun way to learn new skills in a calm and welcoming environment. I felt able to conceptualise a personal idea on my ring whilst being supported and encouraged in the process to construct it.”
-
“I found all communication prior to and during perfect, I felt I could ask any questions without feeling silly and your answers were clear. All steps were explained and demonstrated well and at a good pace.“
-
“The communication before the session was excellent, we got to visit the workshop prior to the day and knew exactly what to expect.”
-
“The experience was relaxed, informative, good fun.”
-
“The pace and level was perfect for us both, time was taken to explain exactly what to do and we had some great demonstrations.”
-
“We felt very supported and encouraged to ask questions. Everything was explained perfectly to our needs.”
-
“Suzanne made us feel very welcome, discussed our ideas with us and told us how we could achieve them at beginner level.”
-