/// THE HINGE COURSE ///
In June I attended a skills development course in hinge making. It was held over weekly zoom sessions hosted by Contemporary British Silversmiths and taught by silversmith Patrick Davison and facilitated by Rebecca Oldfield.
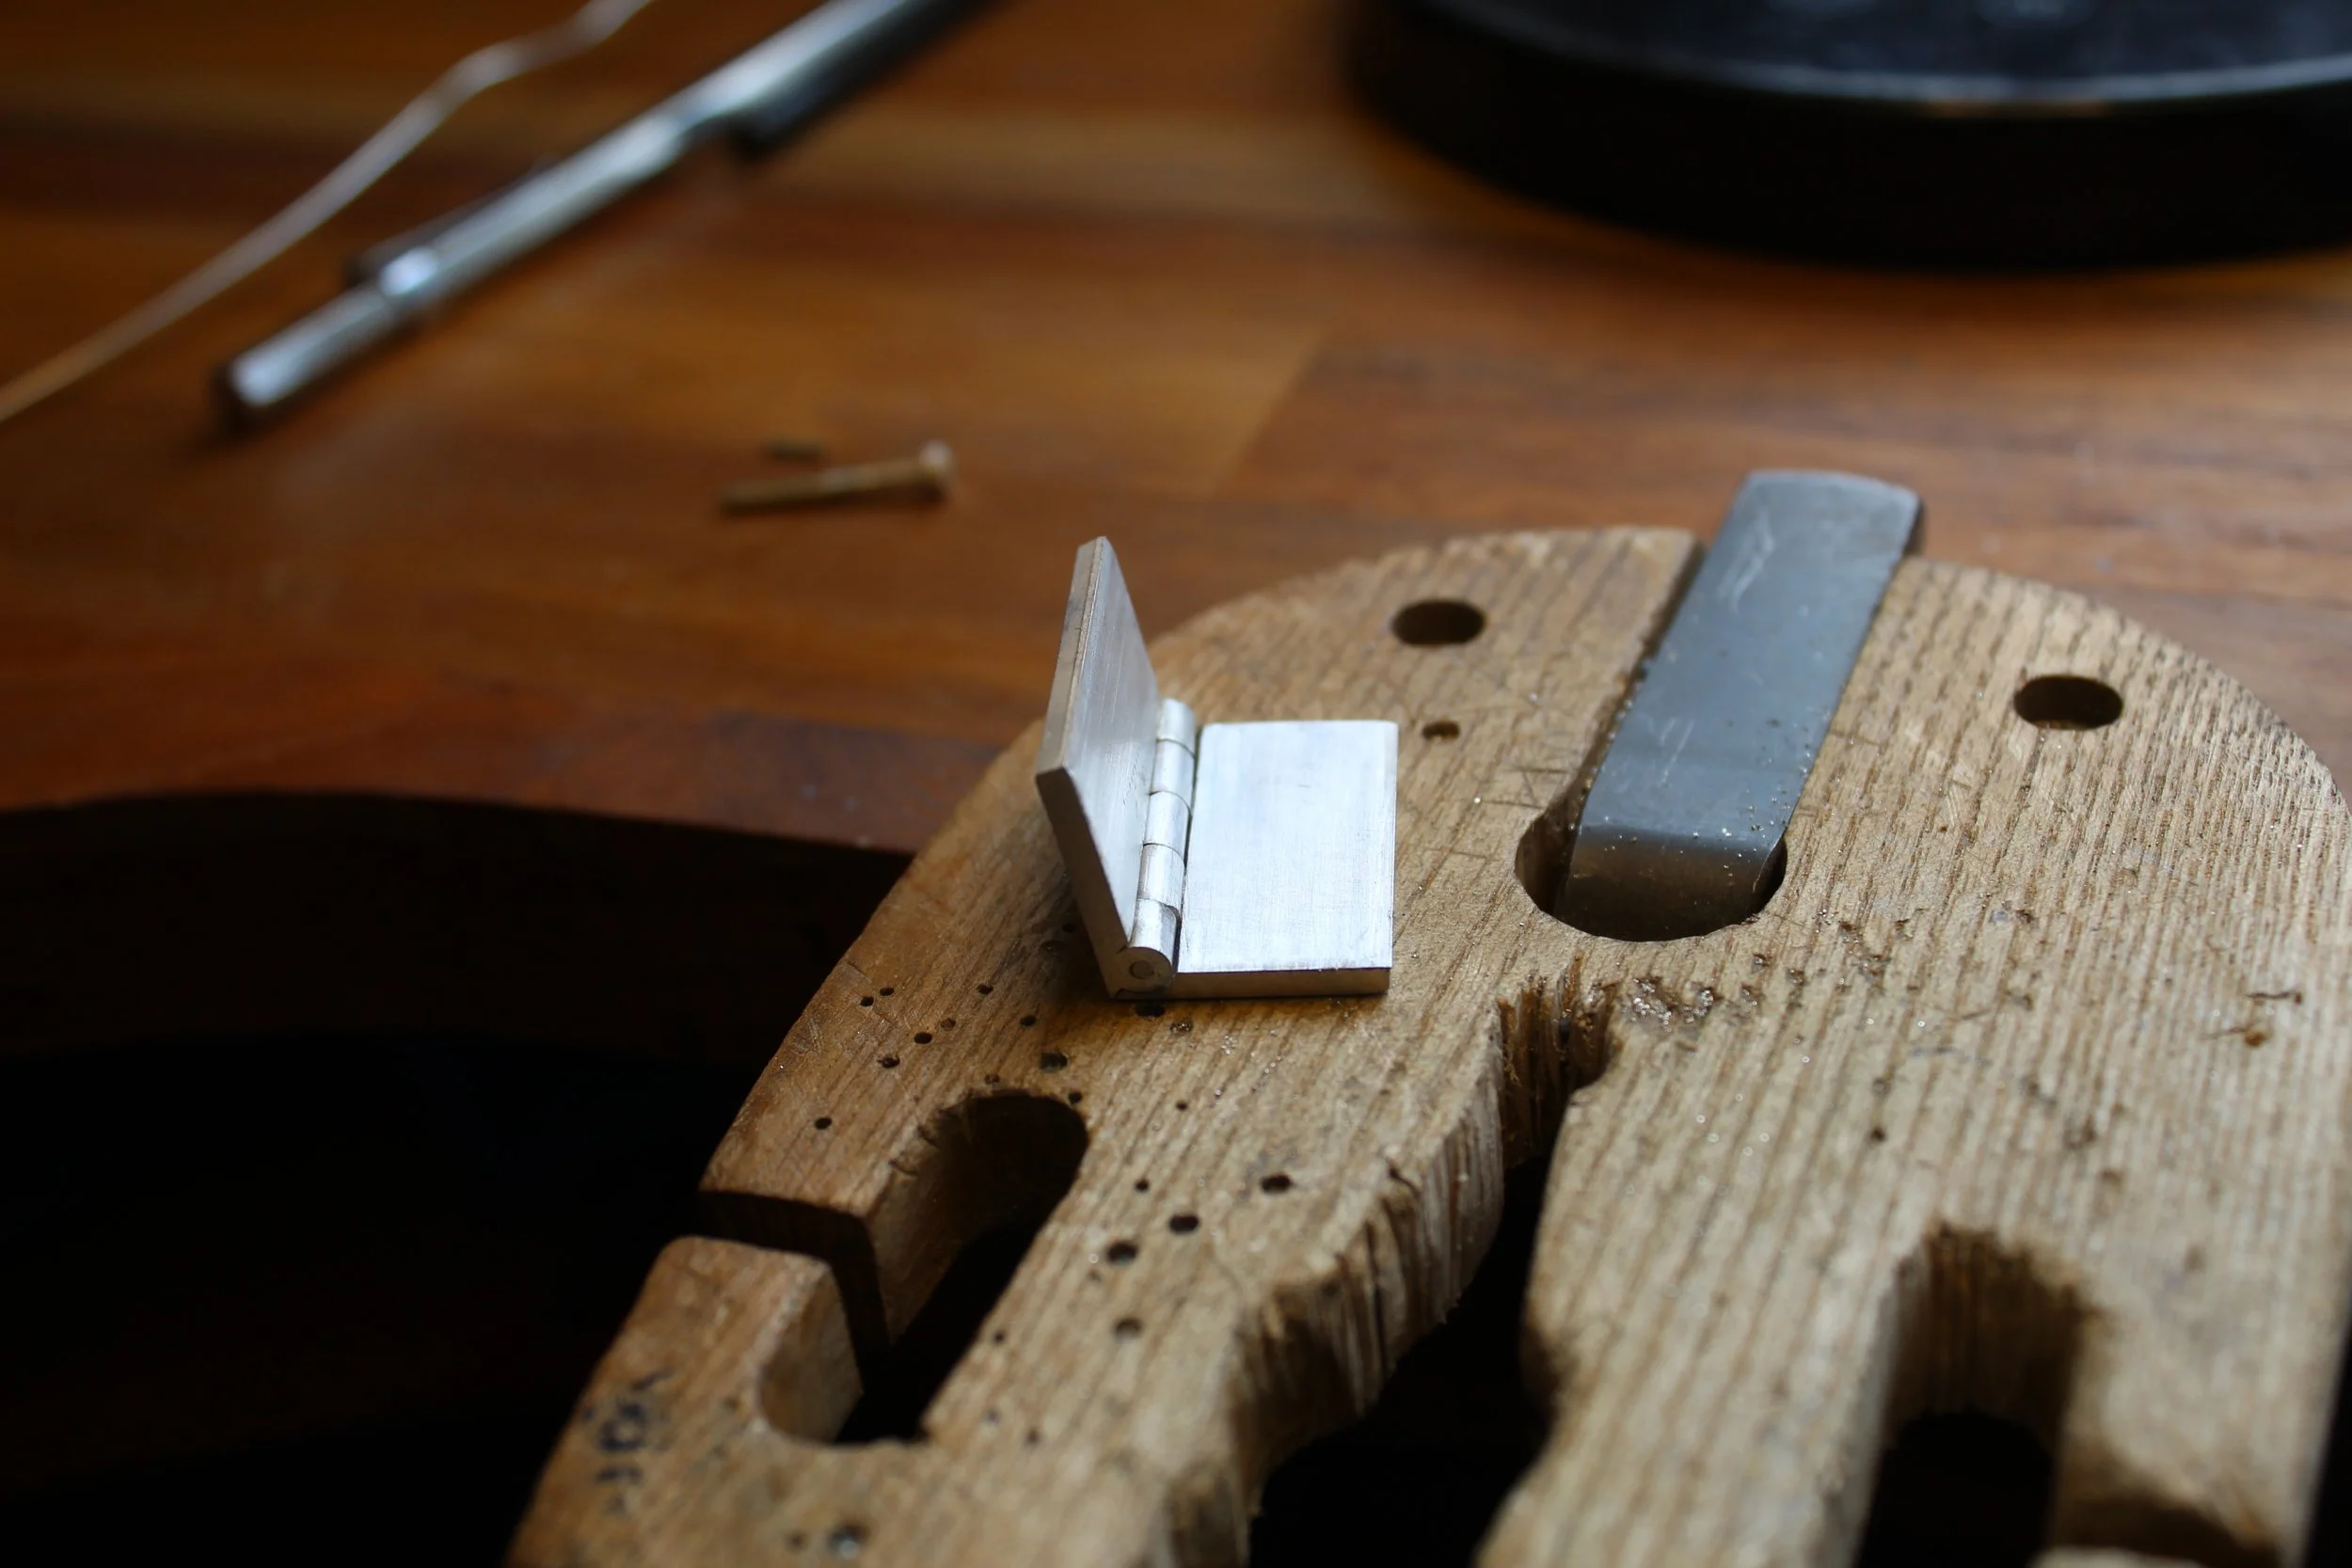
We received the materials and guidebook and each week for five weeks we had a zoom session to discuss our progress with that weeks stage/task which we did ourselves in our own studio. We also have a WhatsApp group where we could ask questions at any point between the zoom session.
It was so good spending time with other silversmiths, albeit virtually, while learning a new skill. As a hinge course we obviously learnt how to make a hinge, but more than that I learnt a lot of helpful tips I’ll be using in future making. Big thanks to everyone on the course as well as Contemporary British Silversmiths, Patrick and Rebecca.
In brief, the processes were:
Measure and scribe a line where the hing will be
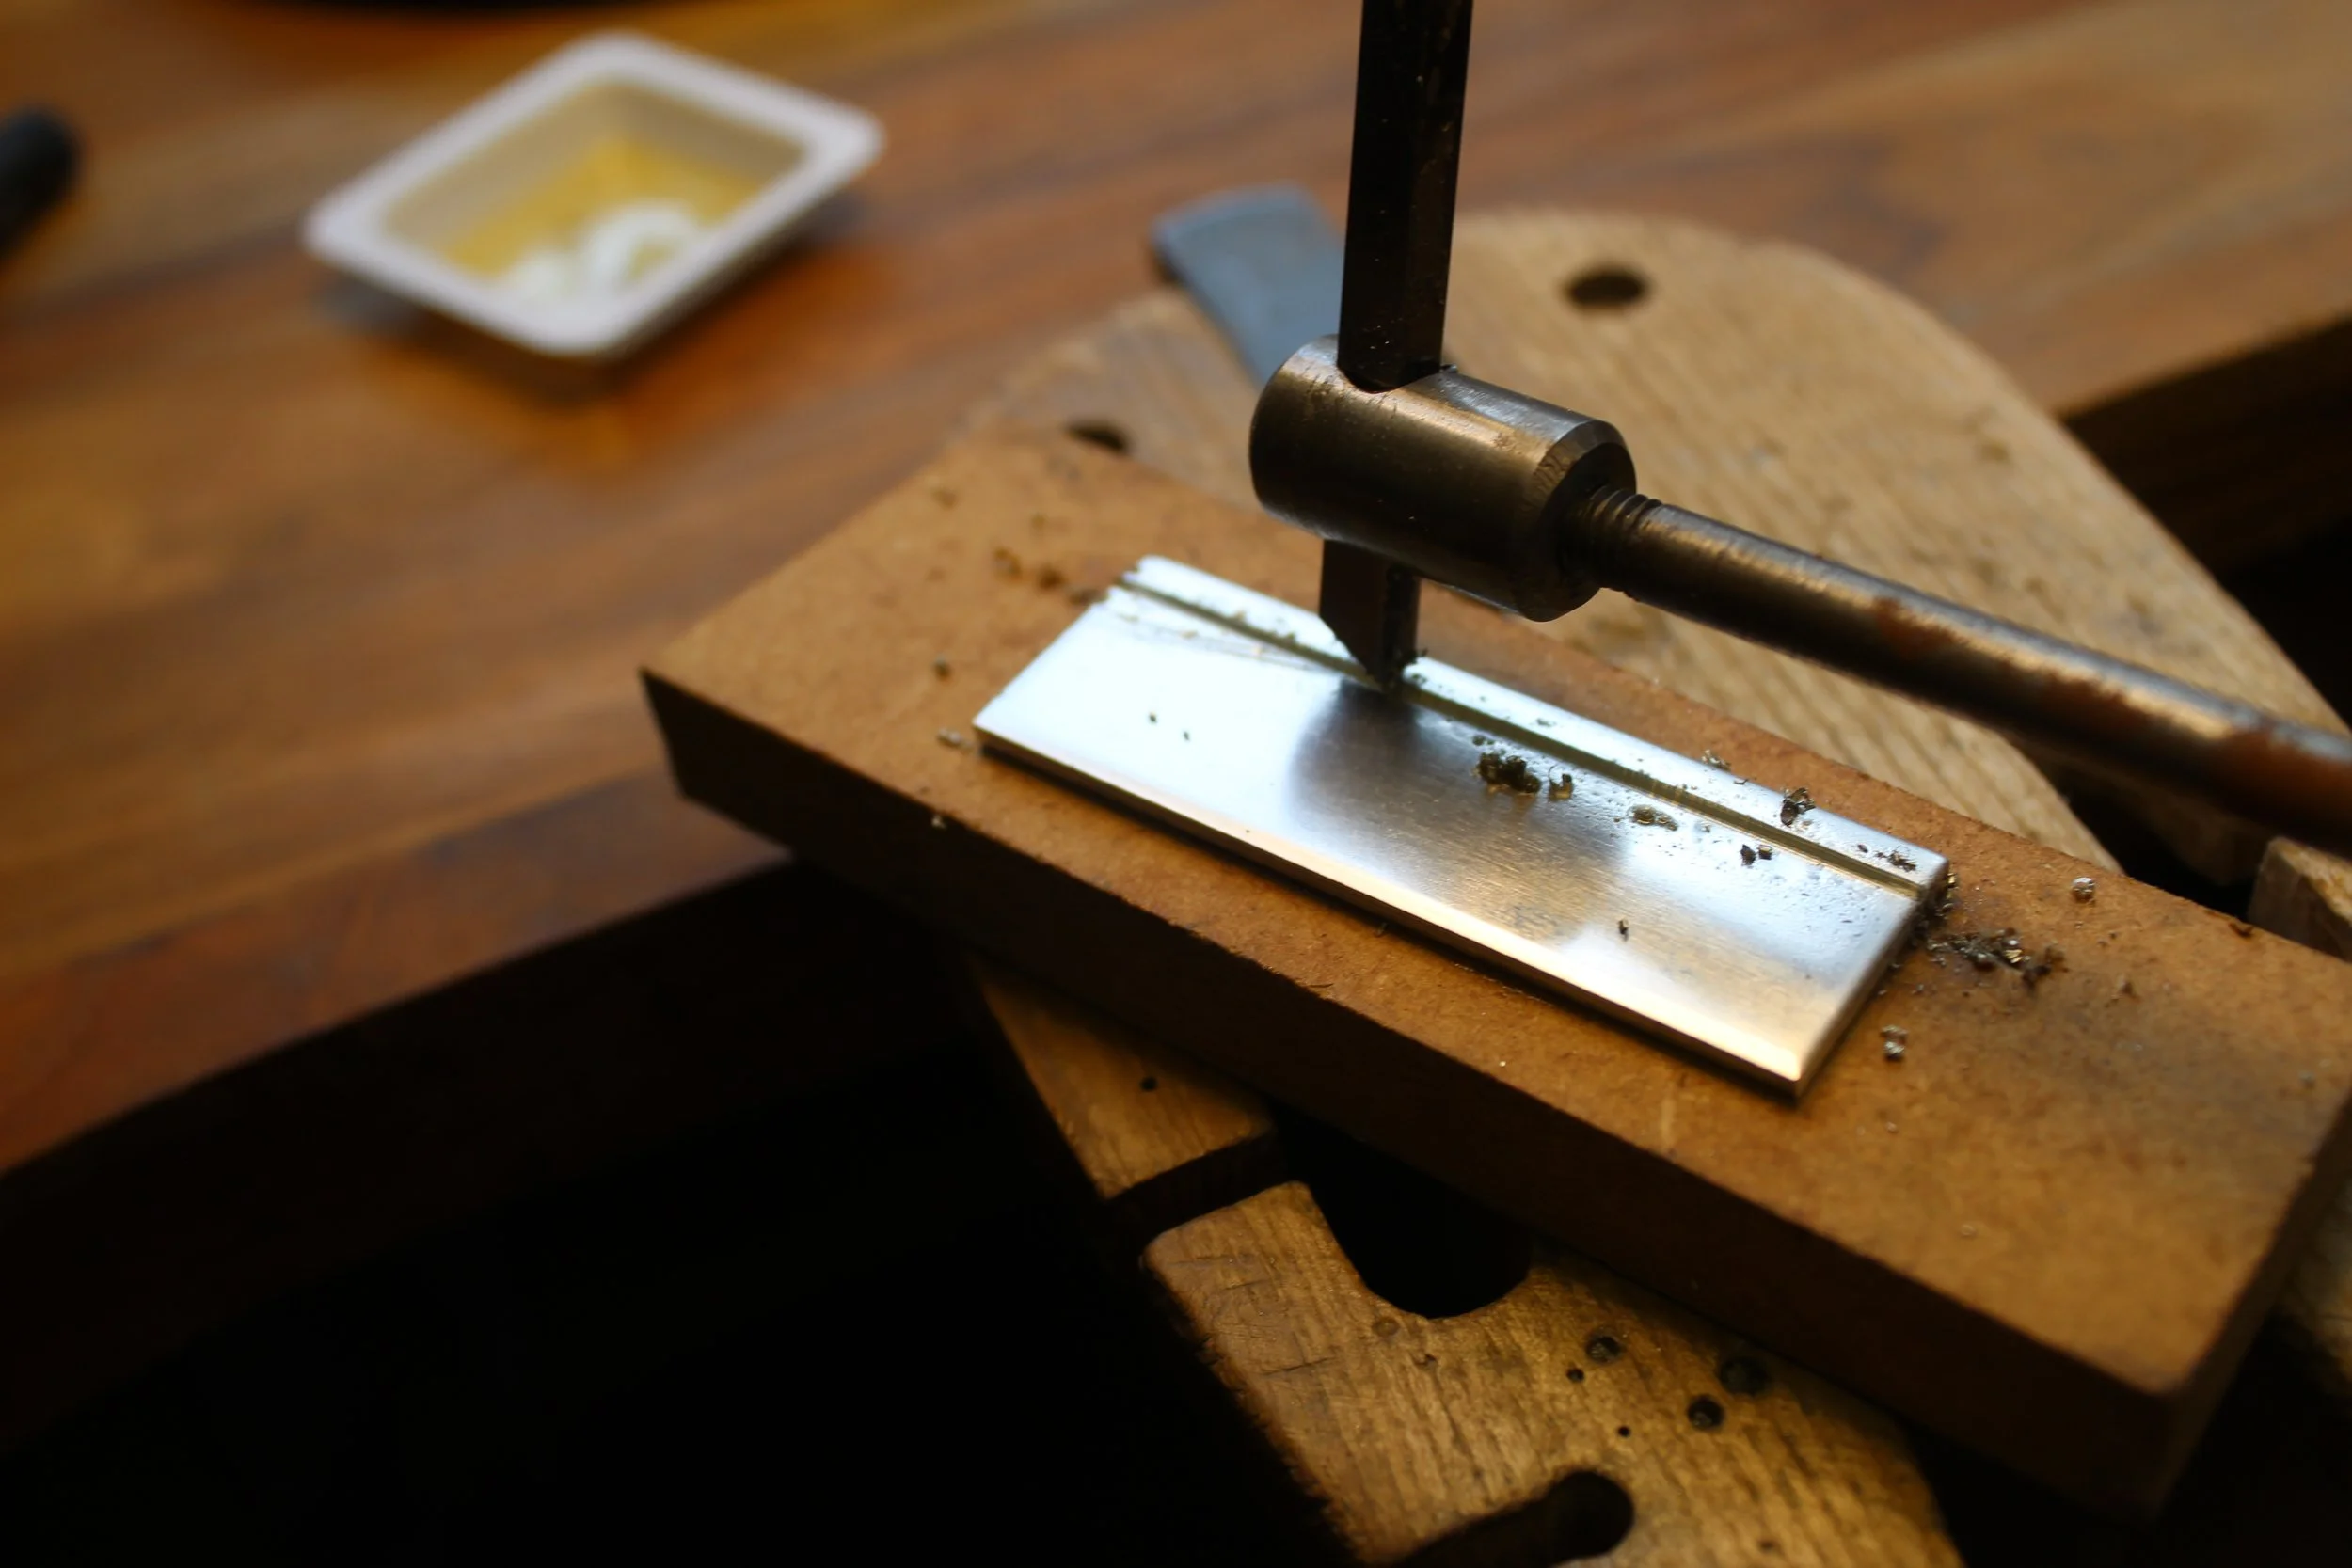
Score/engrave the line ensuring precision otherwise the hinges will be off and not work/open to the correct angle
File the line until it’s a channel the exact dimensions to fit the tube
File the angle to create the hinge opening
Cut into two so you have the pair ready for the hinge
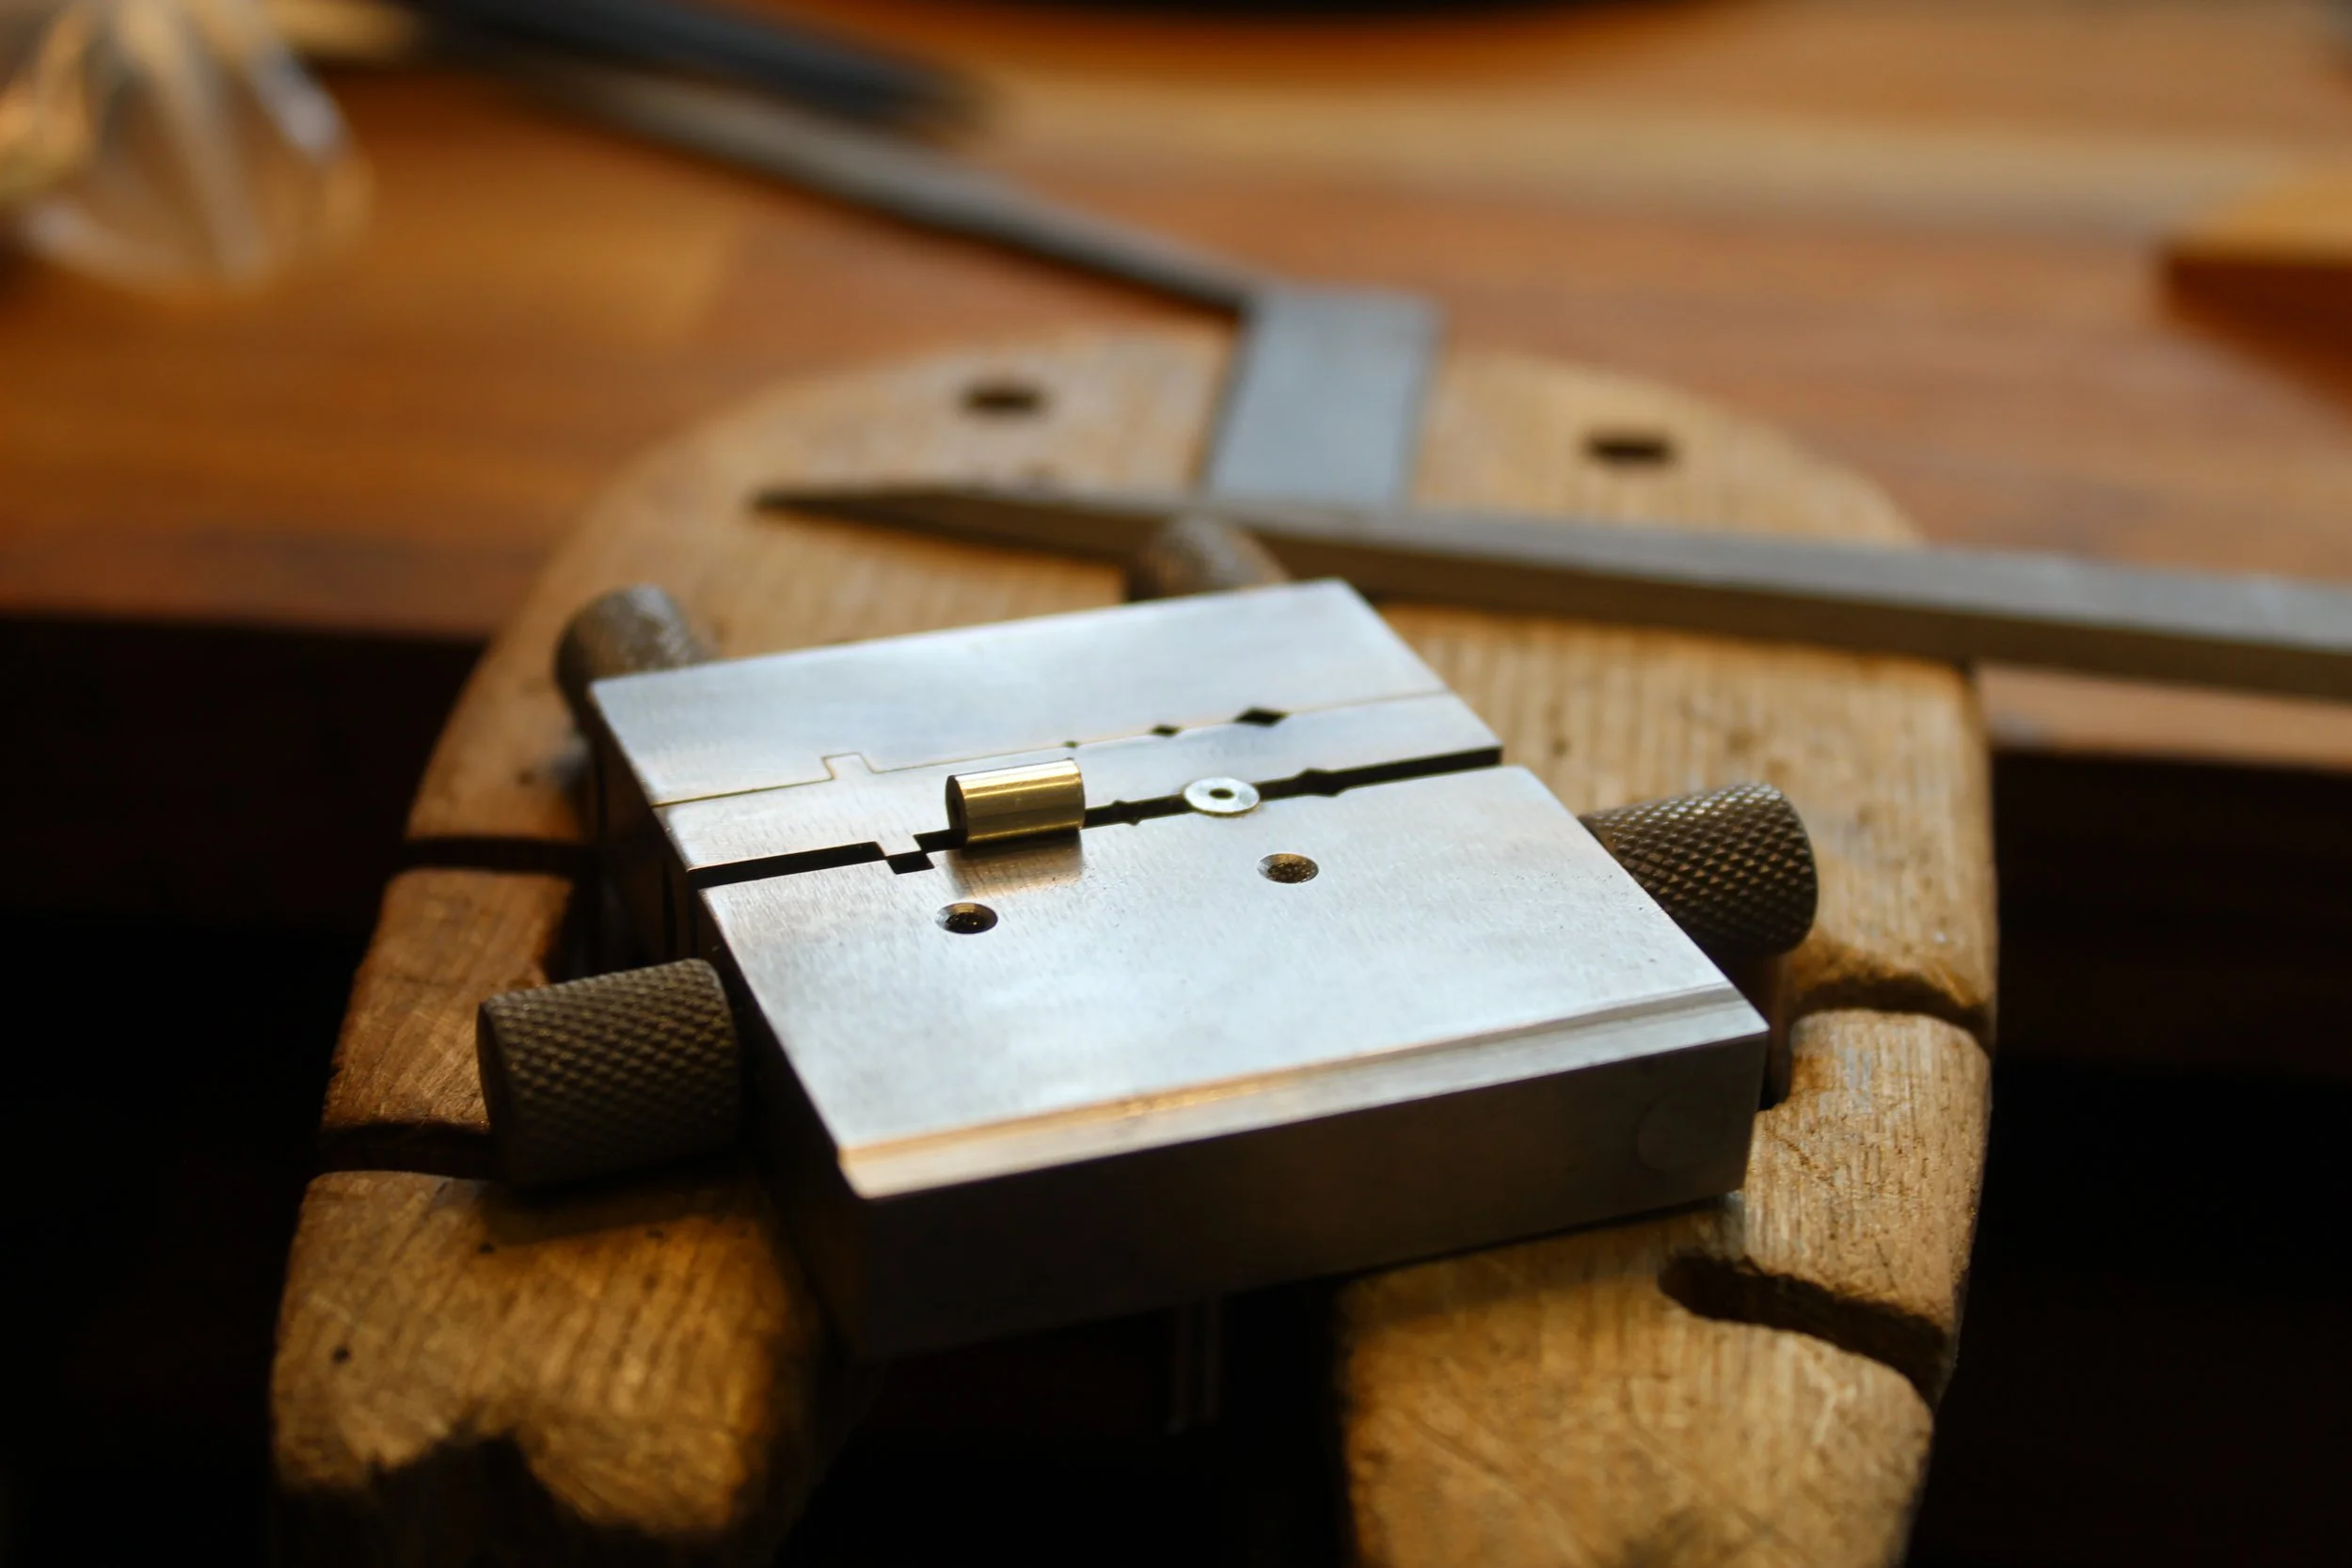
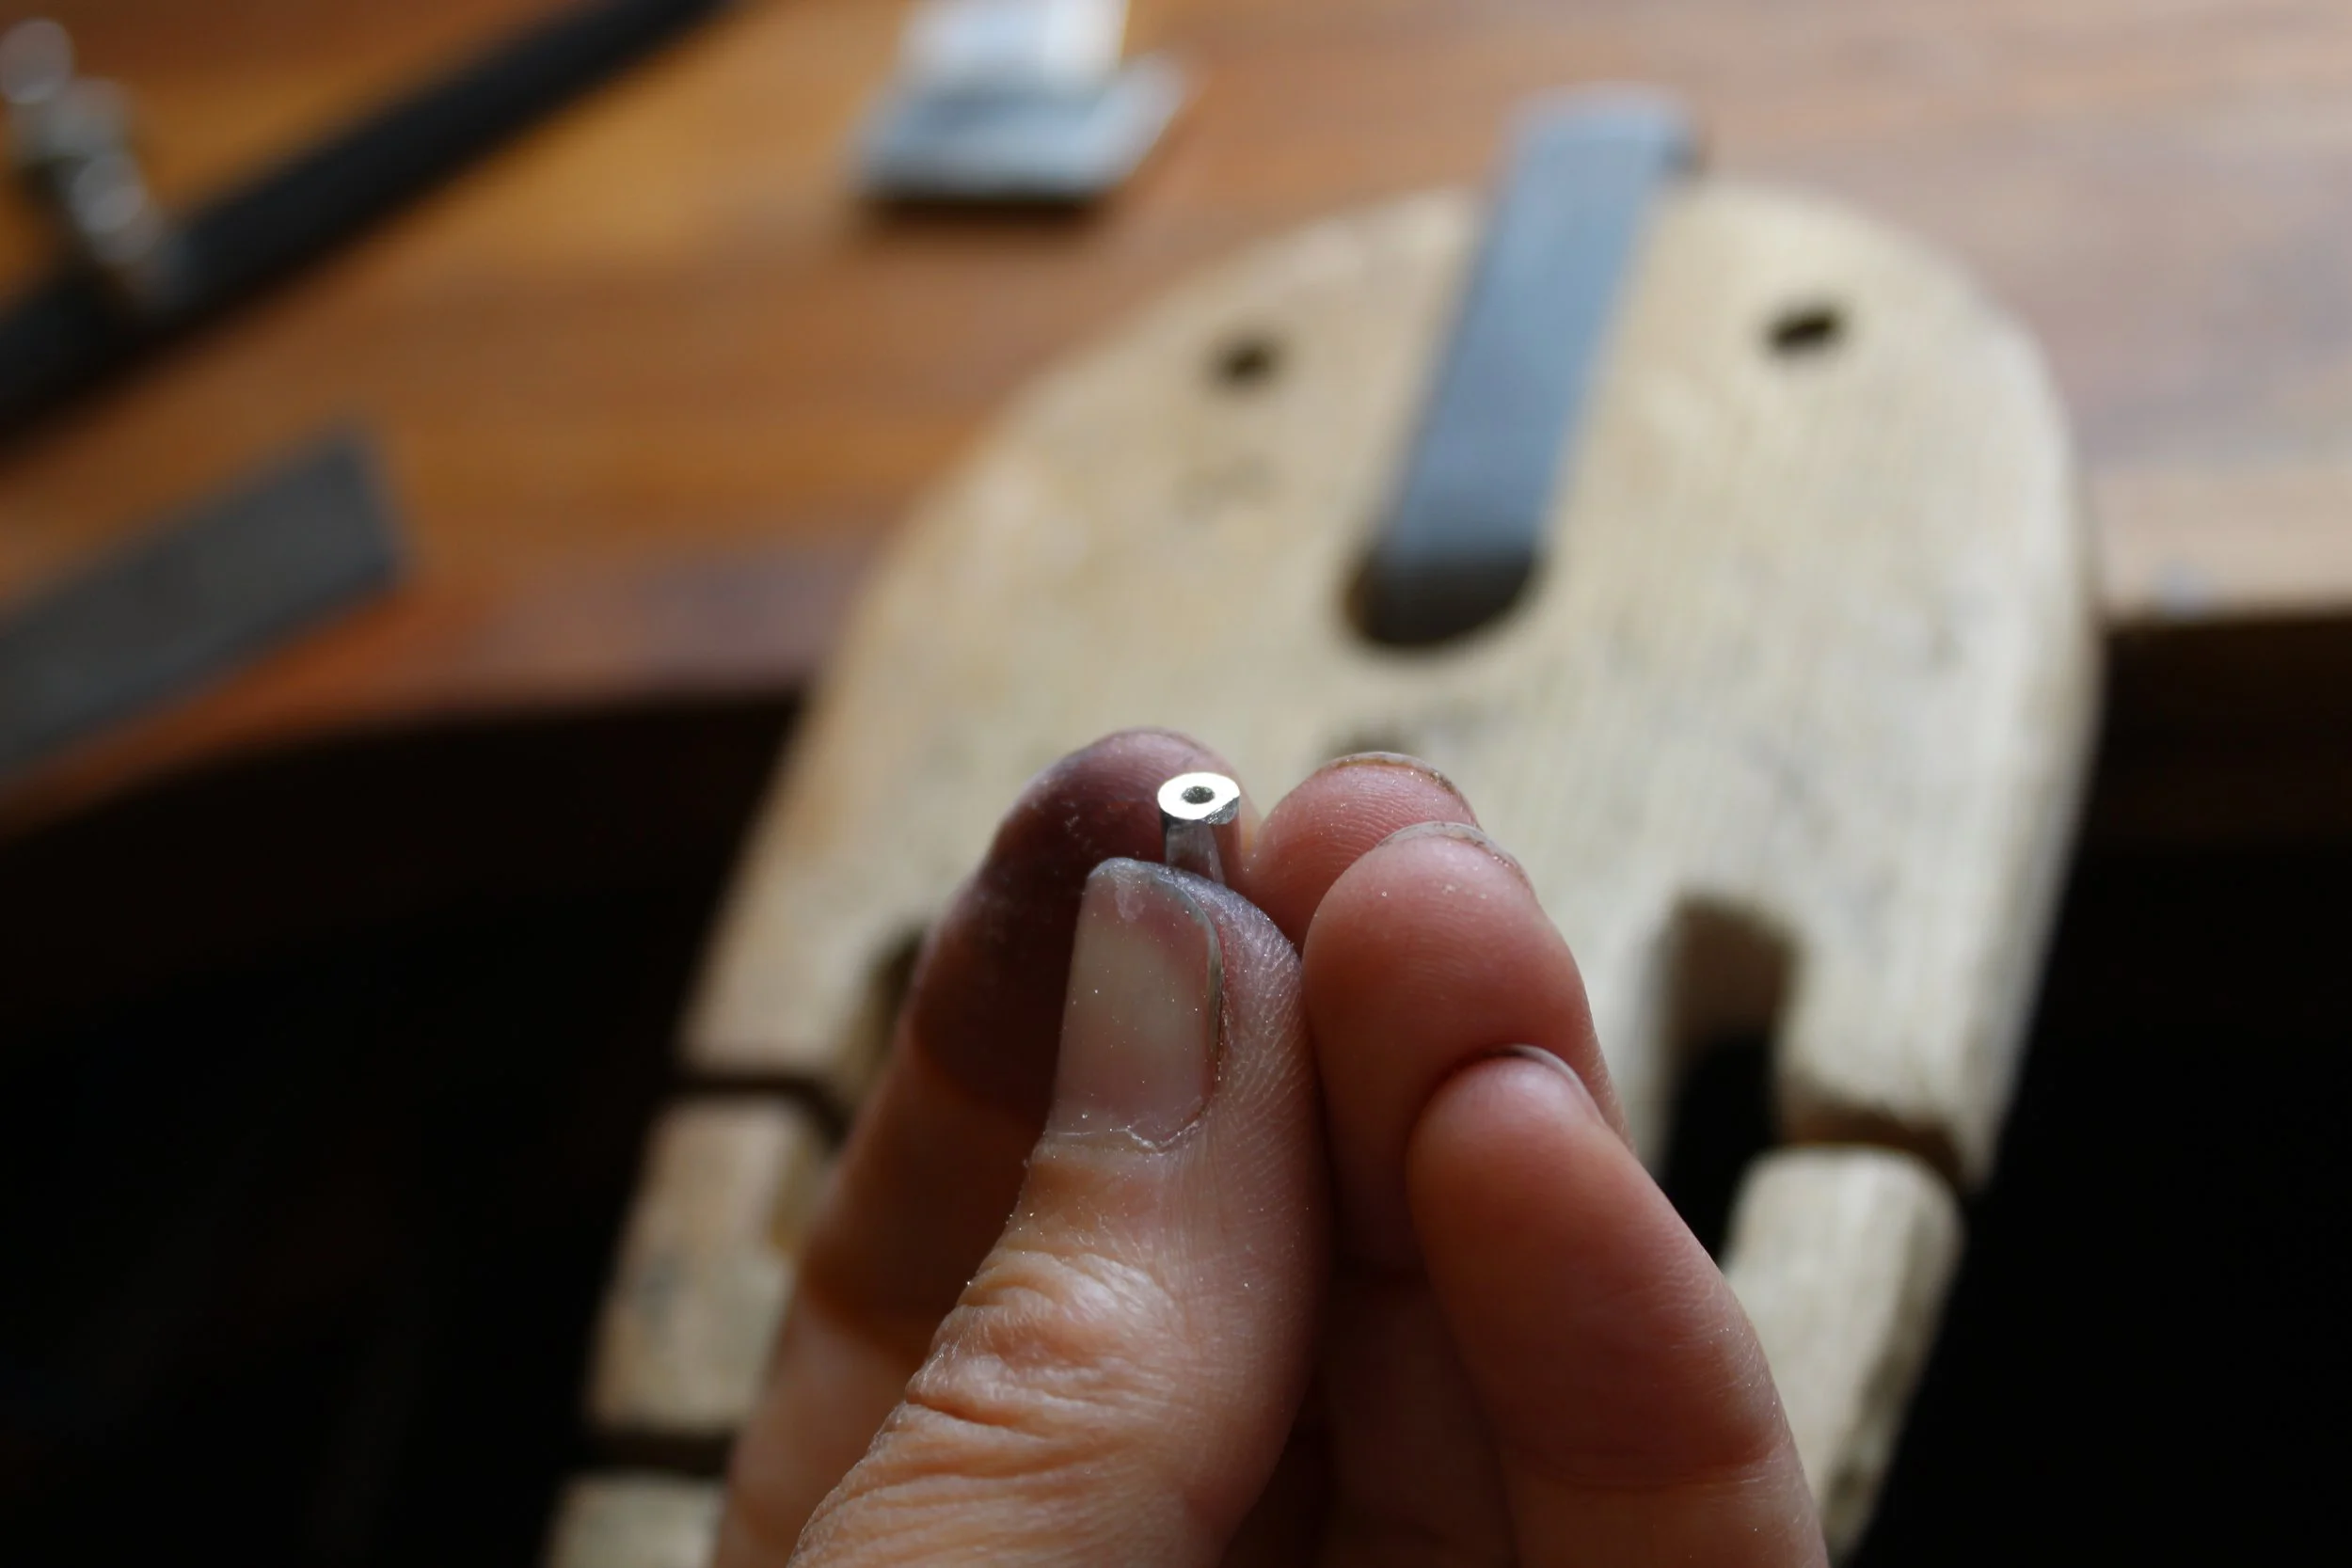
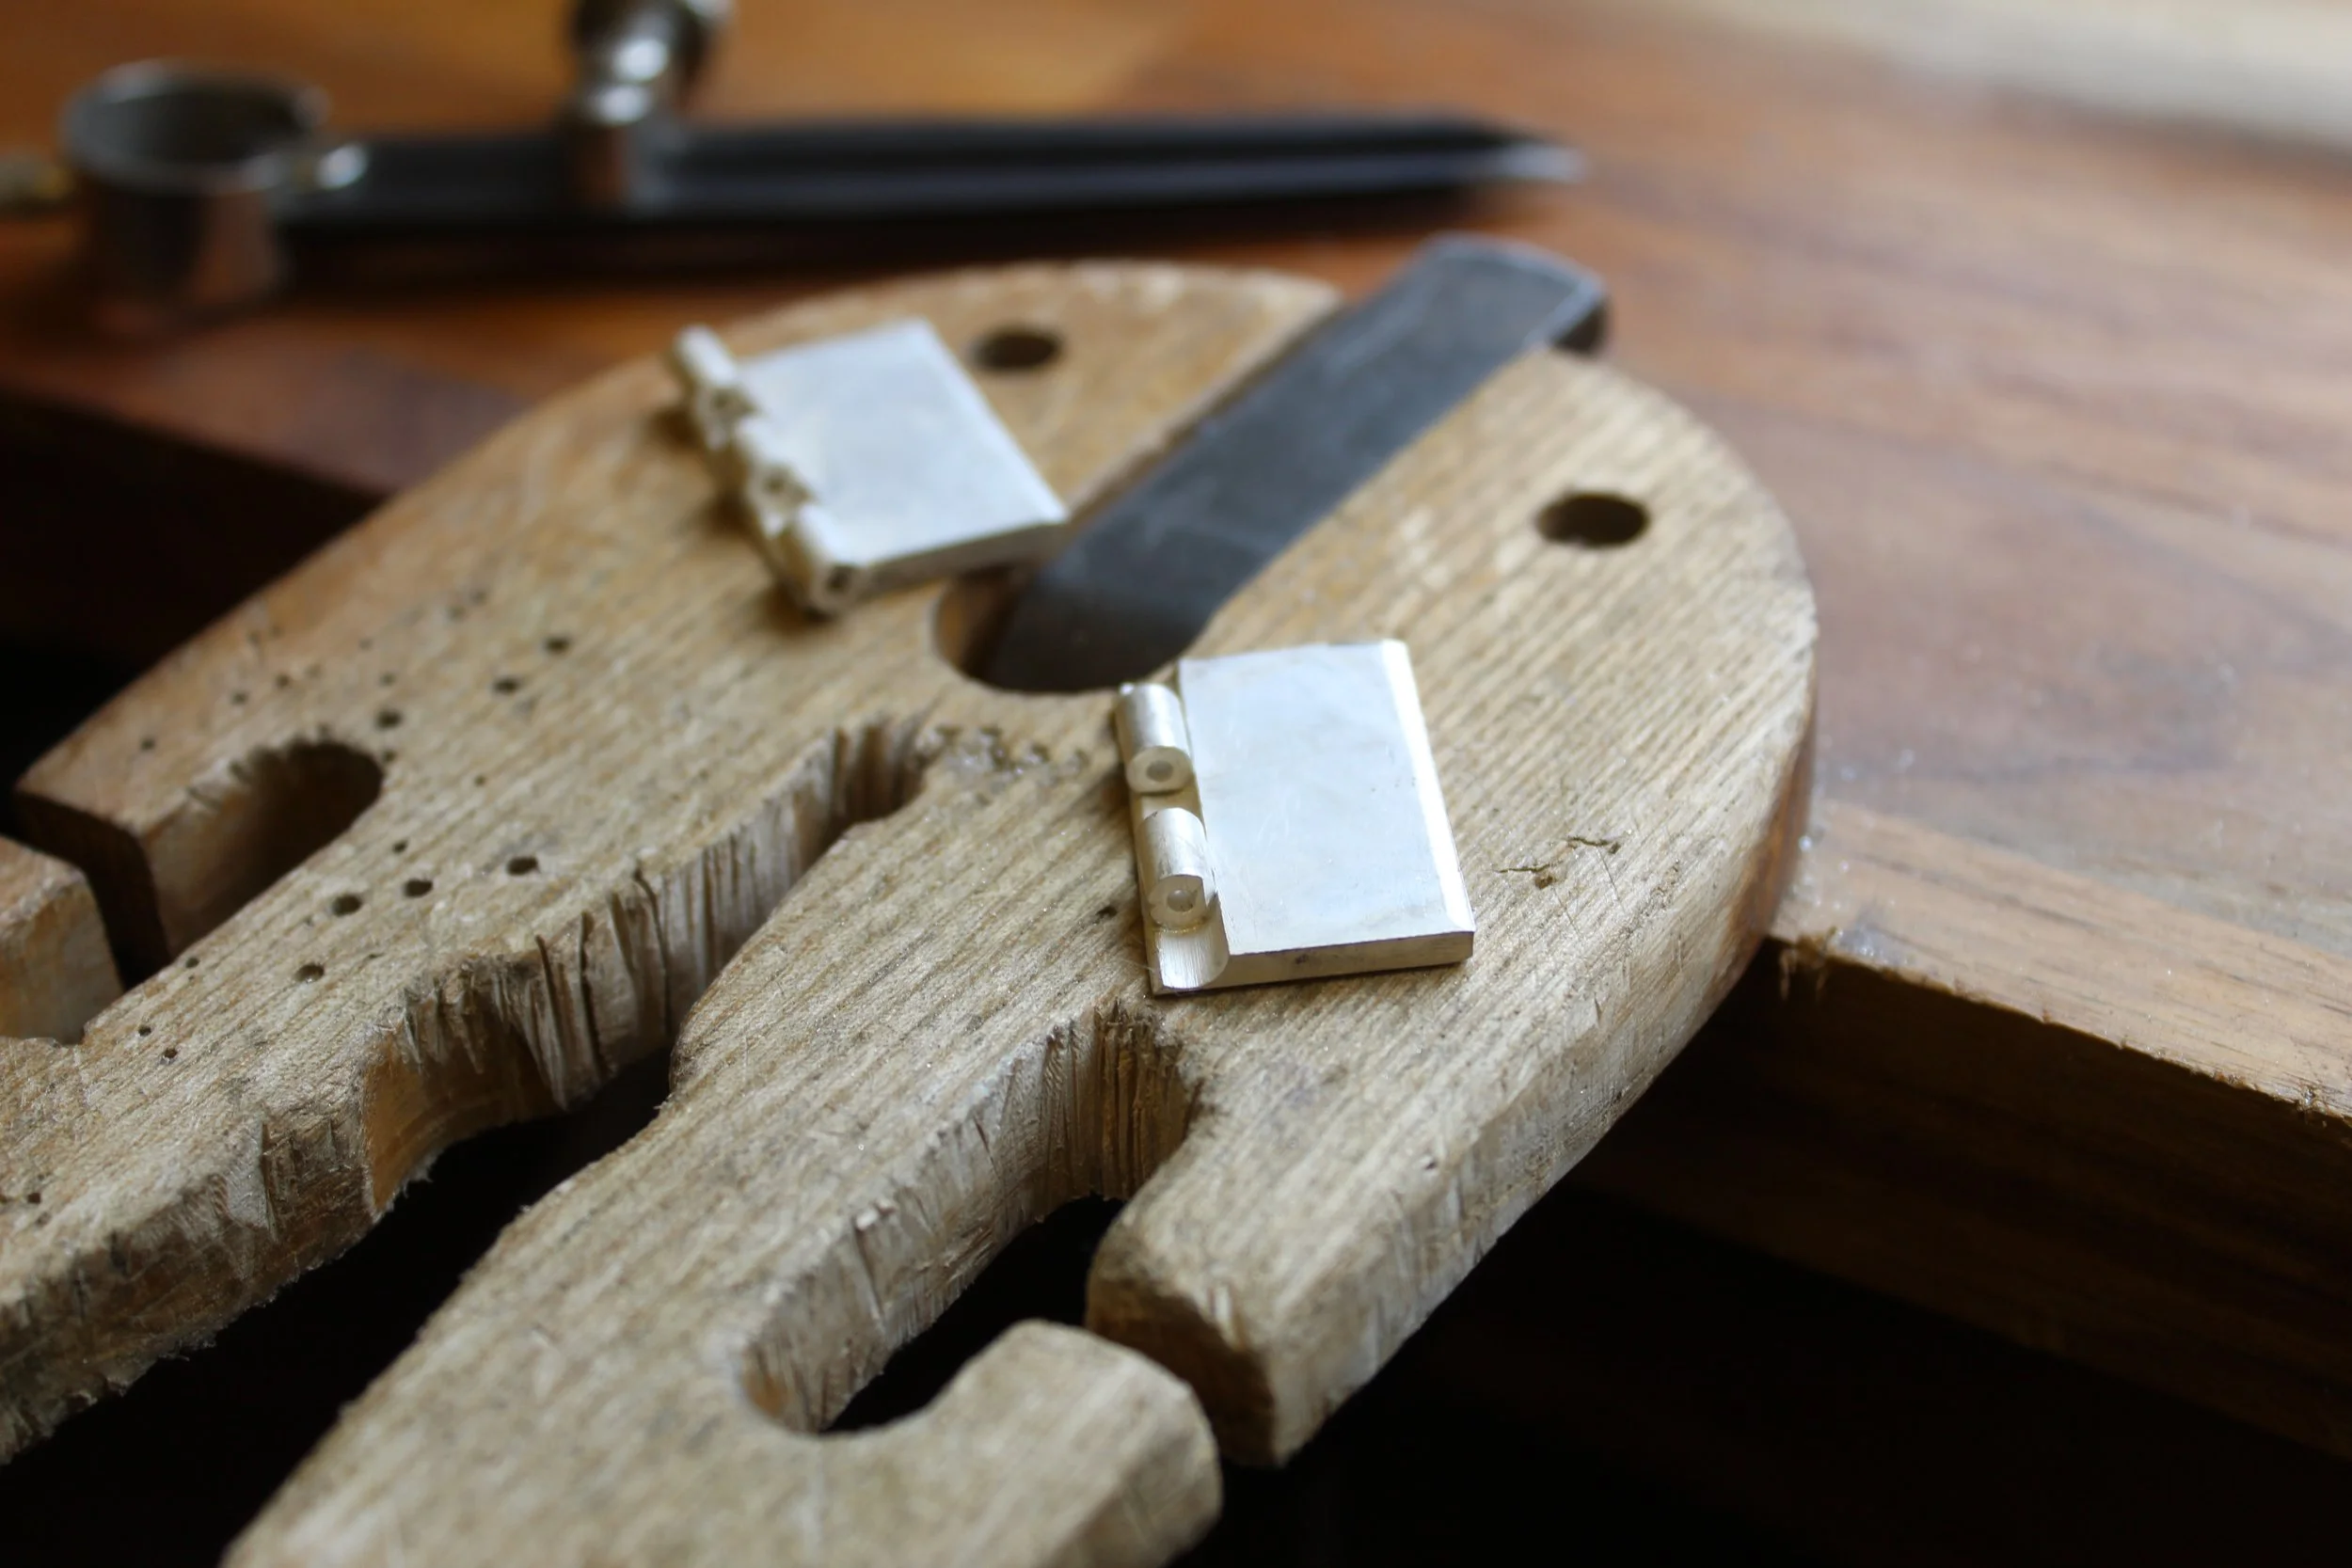
Cut the tube to size for the five knuckles, must be cut to precise measurement then filed completely square otherwise they won’t fit tightly together
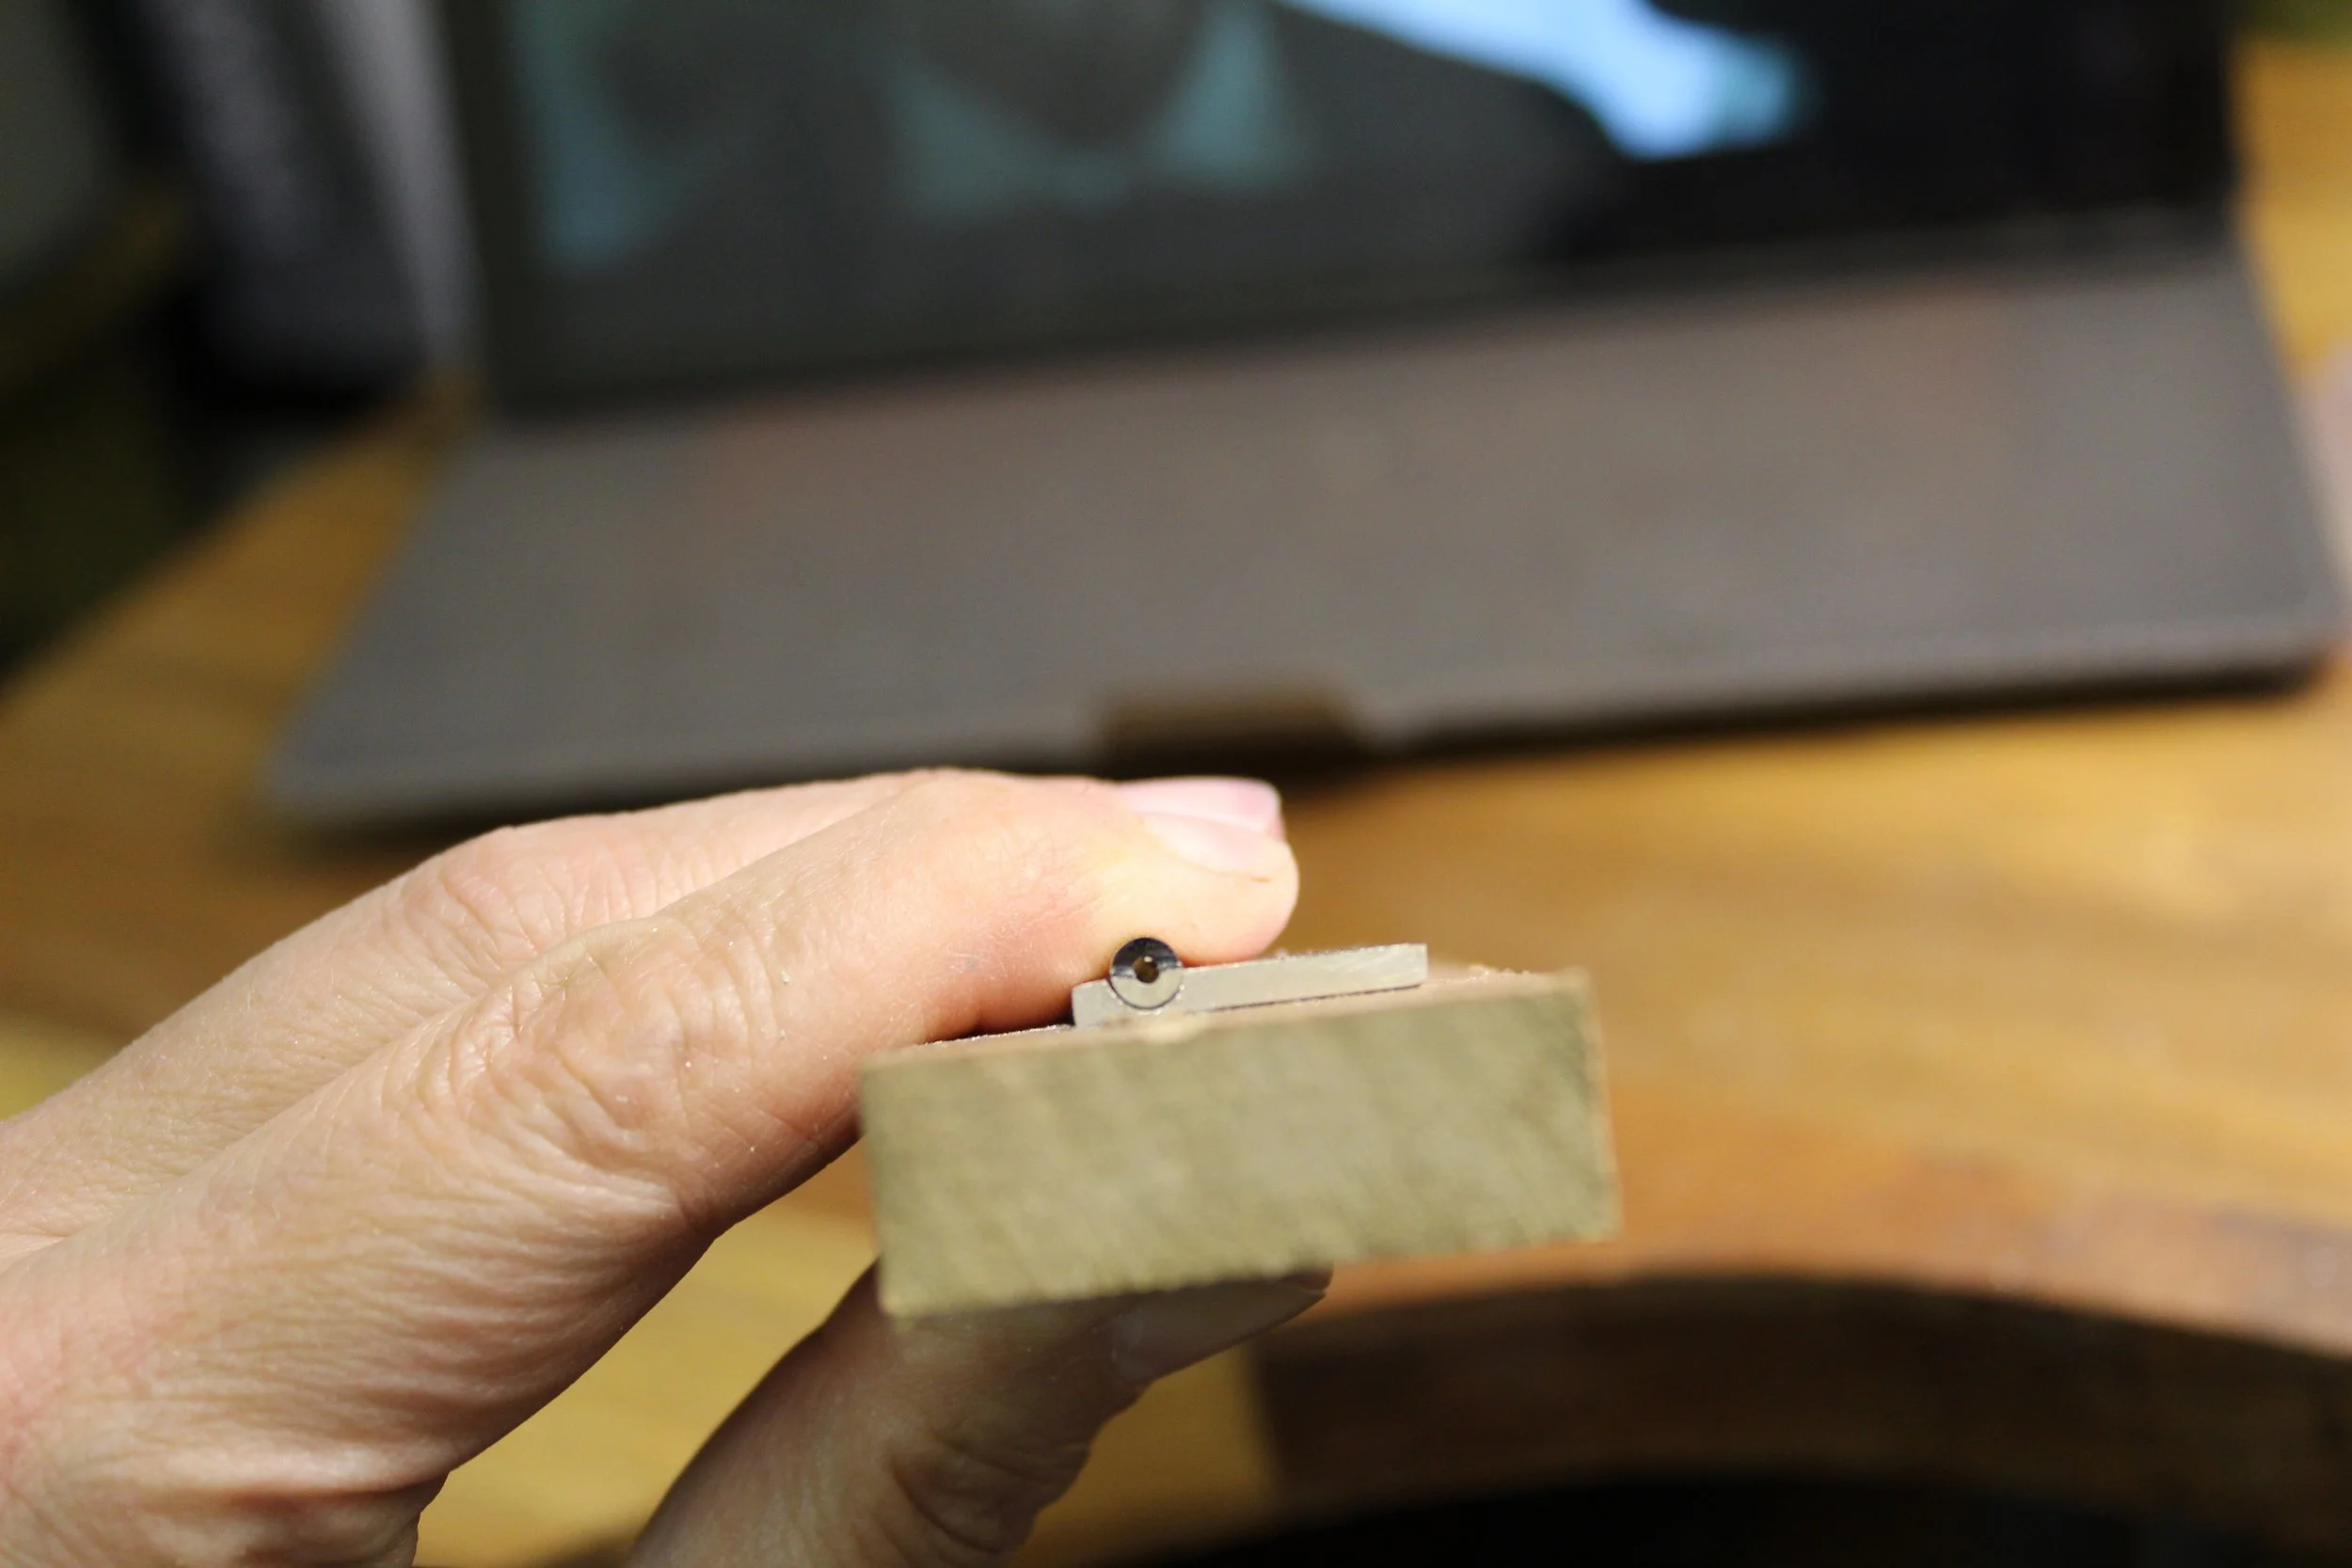
De-burr each knuckle so there are no little bits of metal stopping the knuckles from fitting together flush
Chamfer each knuckle
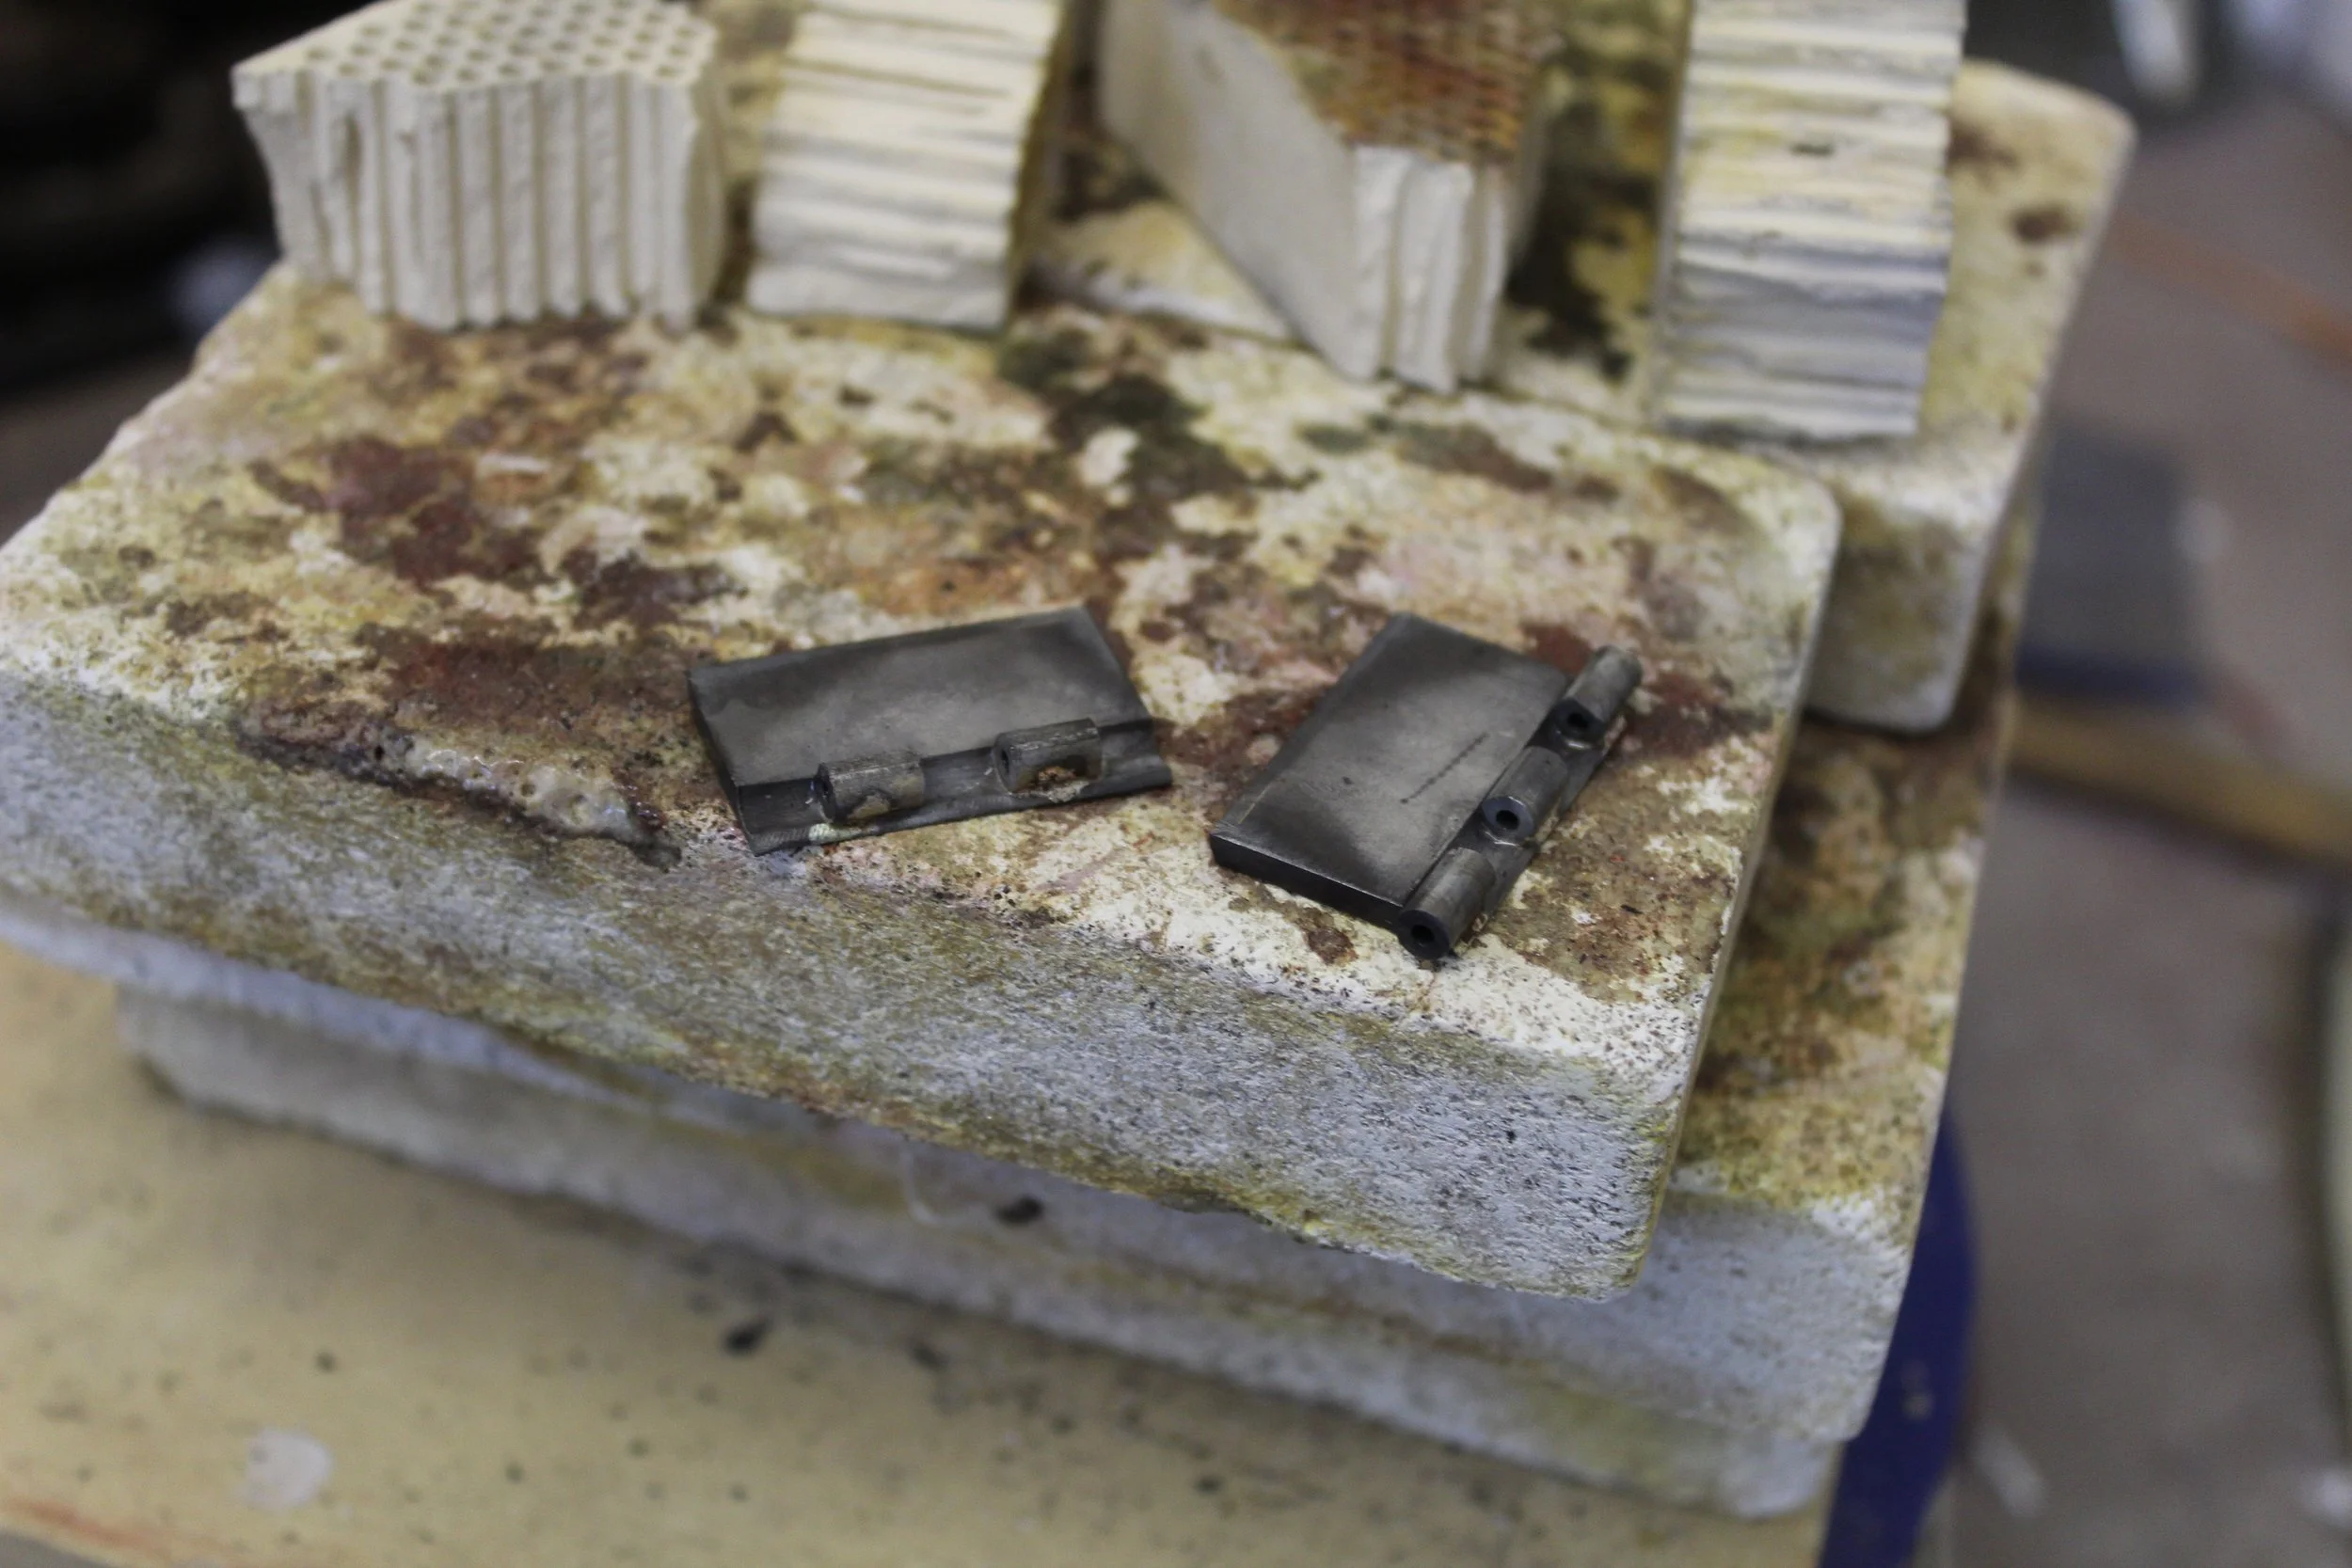
Solder knuckles the knuckles in place
Tidy
Ream the knuckles - opening the inside up ready for the pin
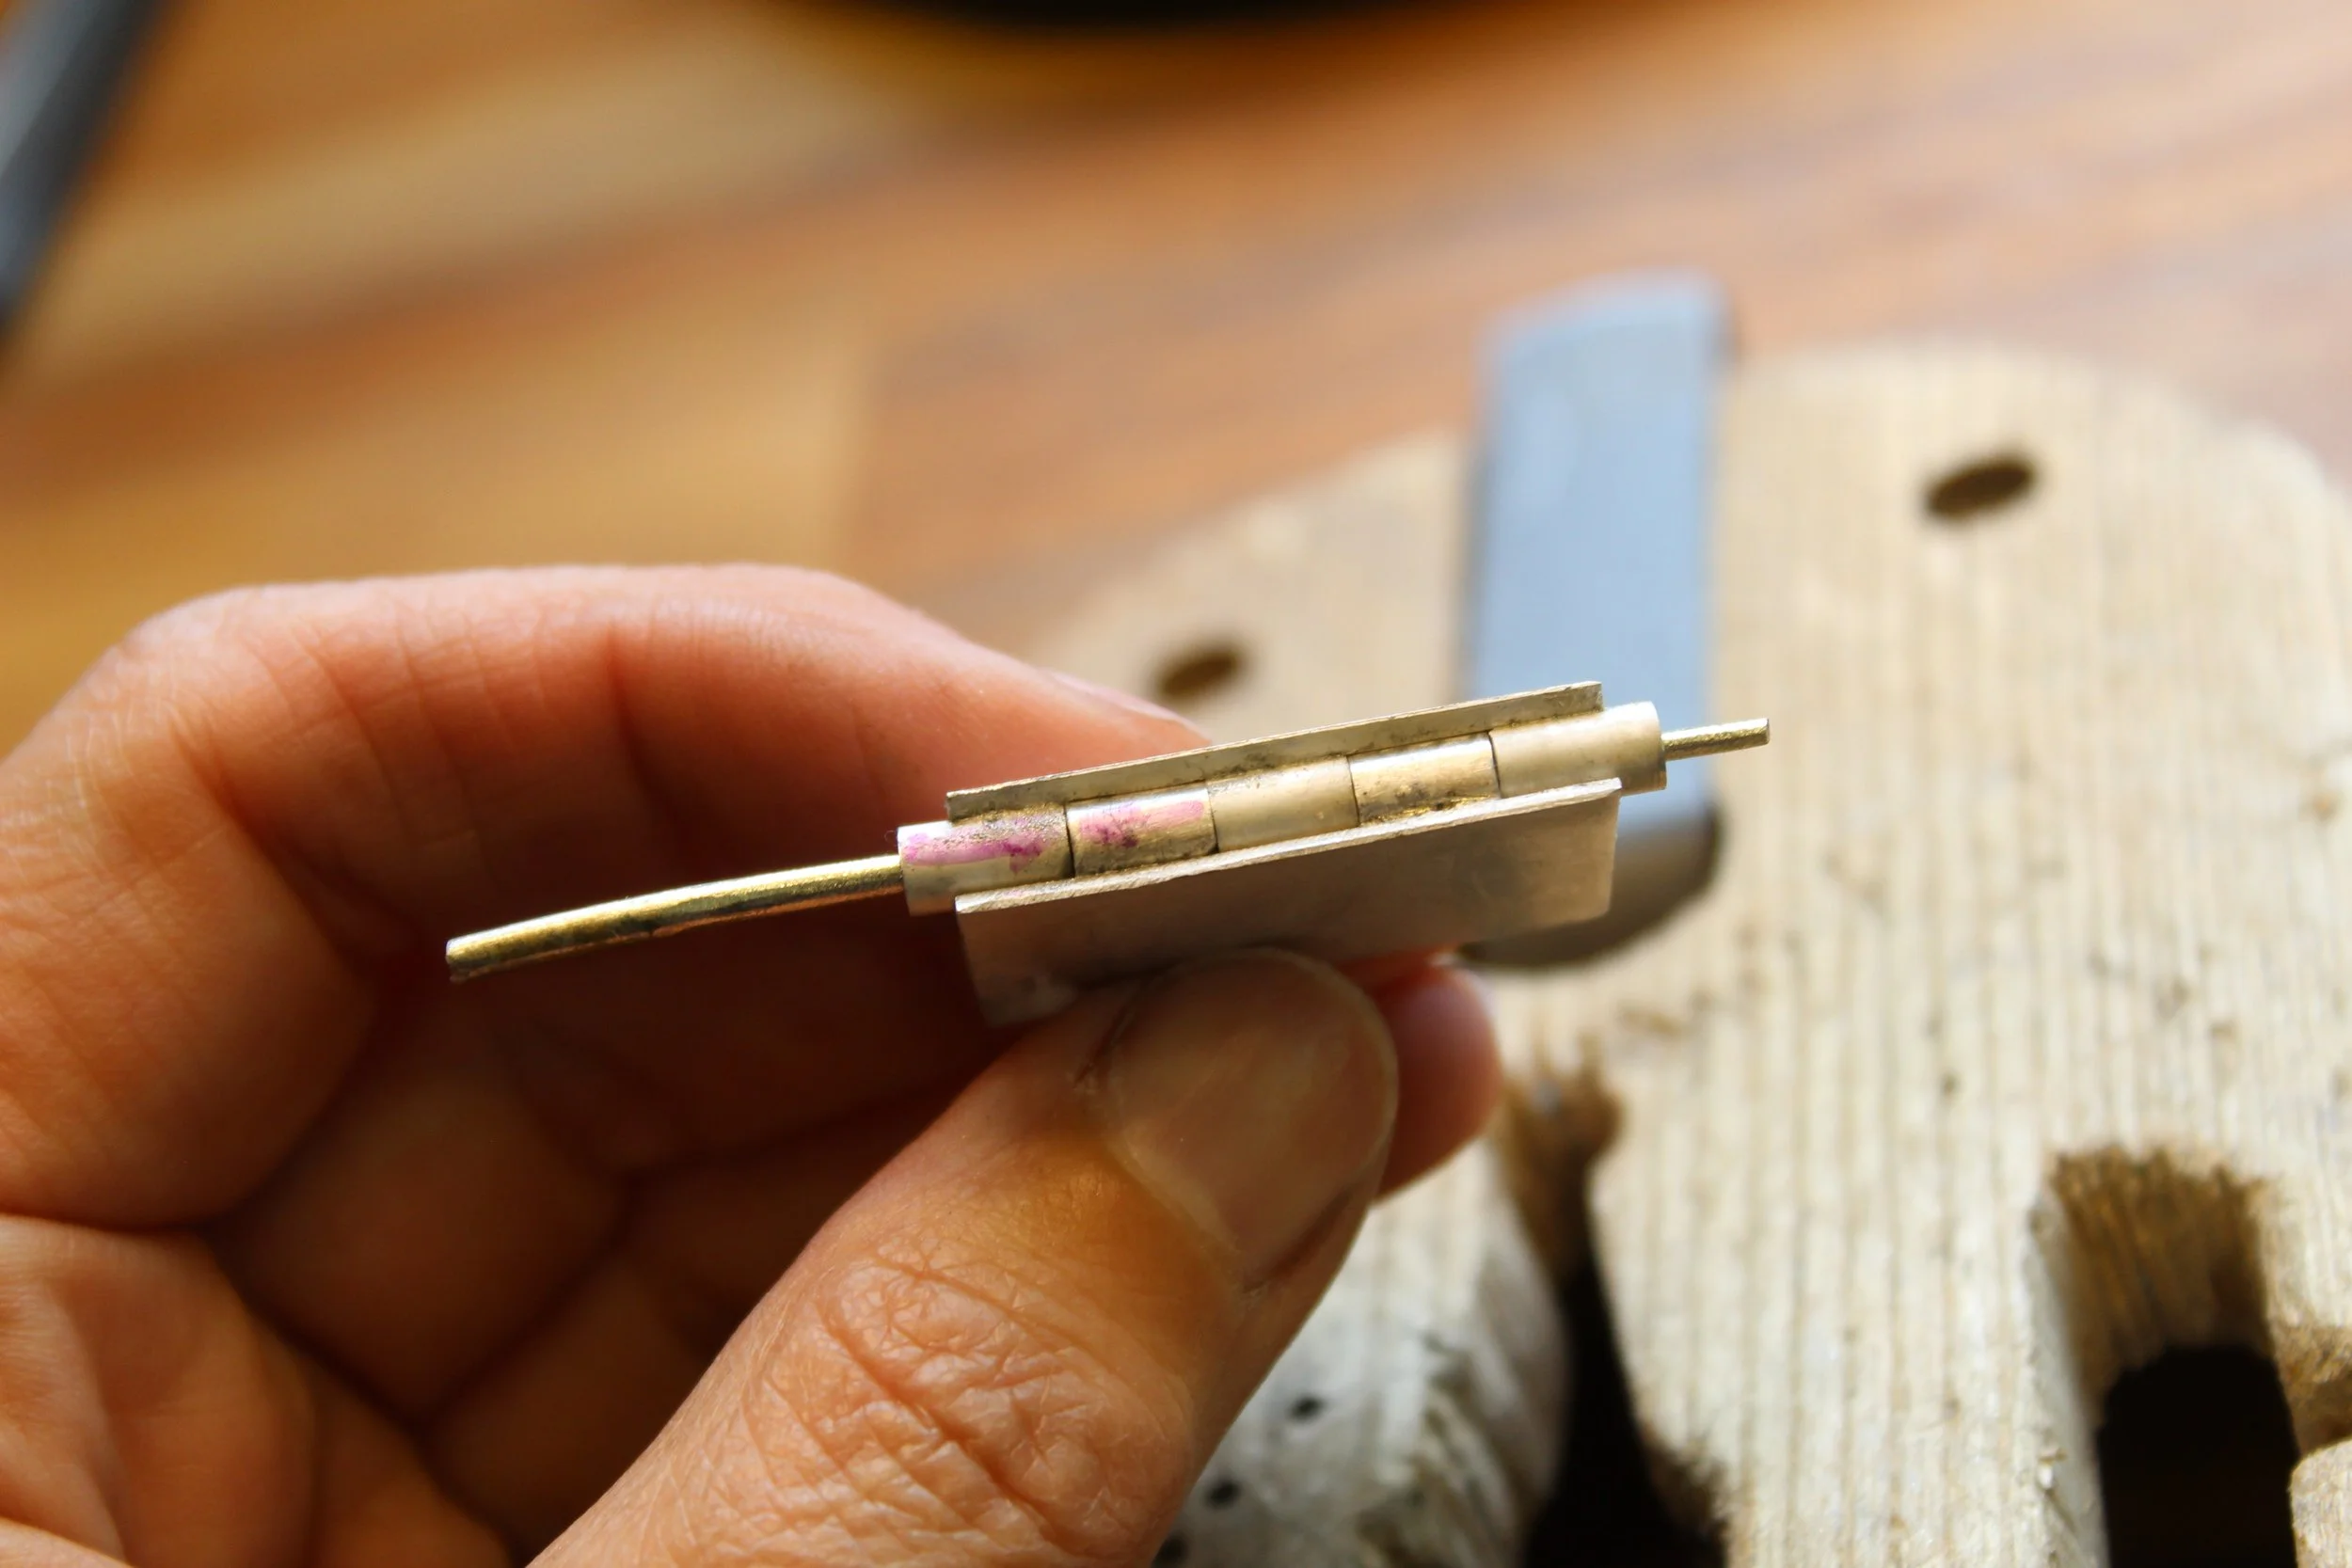
Taper the pin
Fit the pin
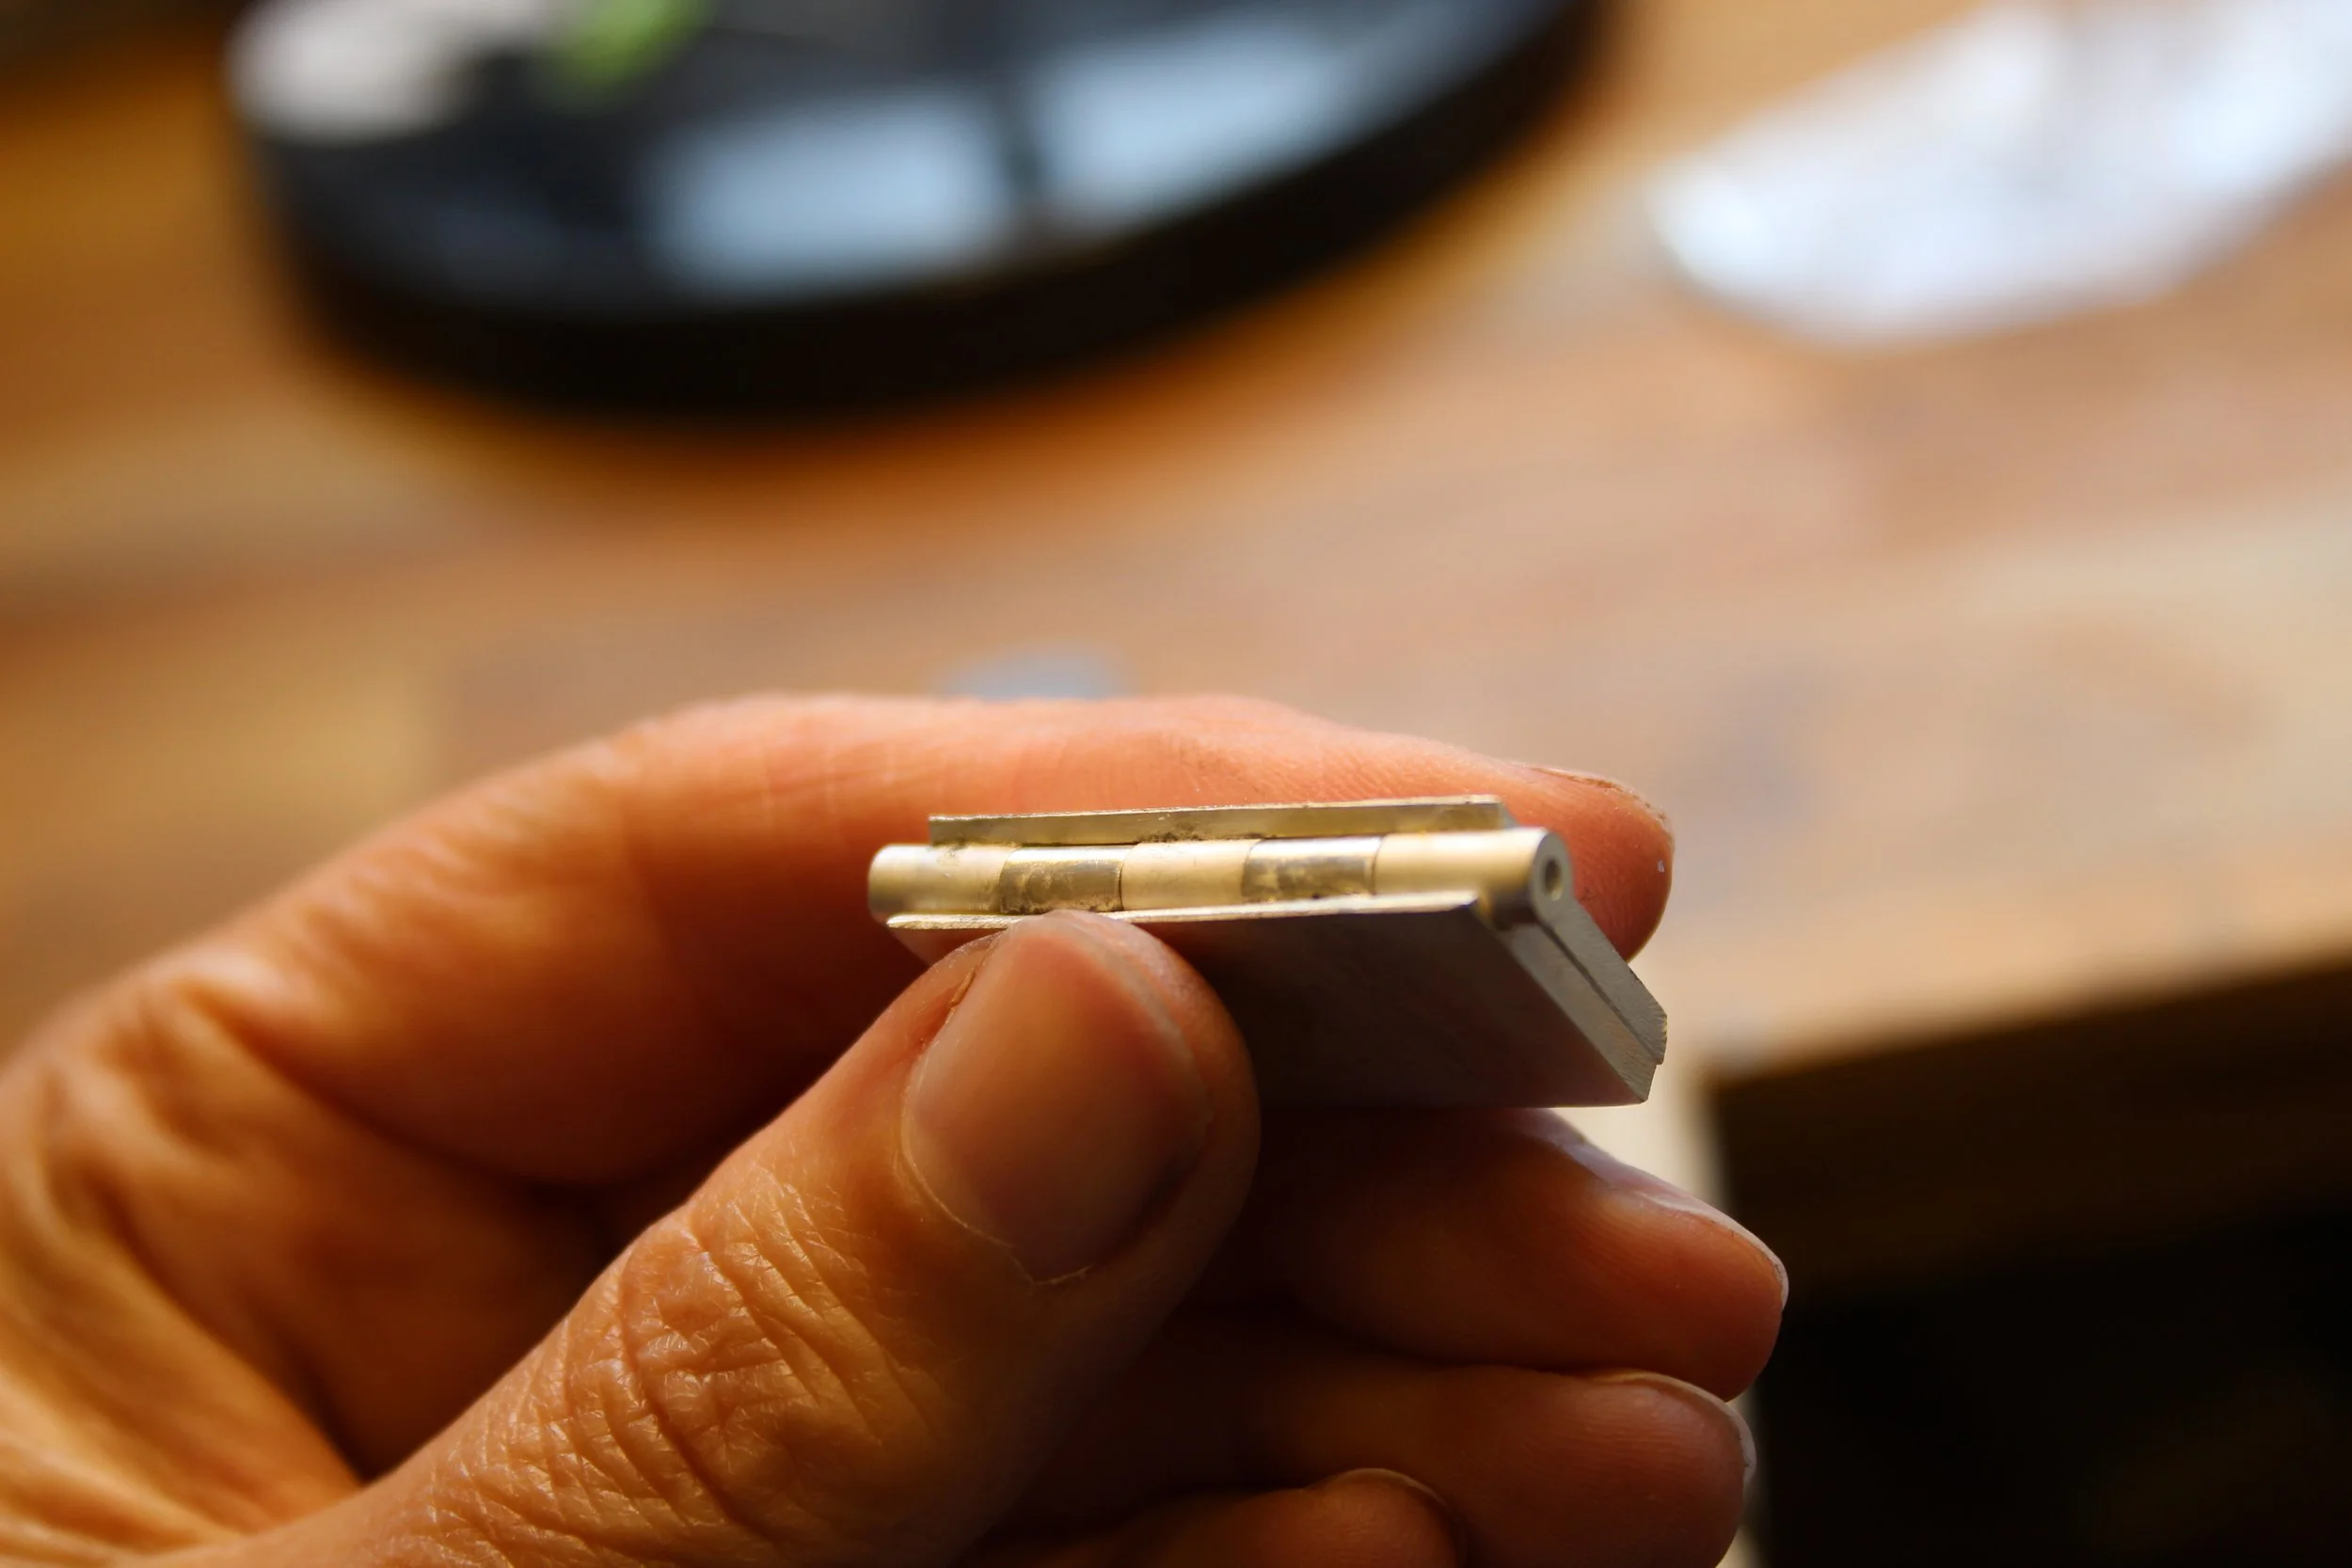
File the hinge
Every step required precision and patience, otherwise it wouldn’t fit together. Every single step. Hinges aren’t easy, but so good having an exercise that pushed me out of my comfort zone and forced me to be super precise. The hinge should open at 90 degrees but mine is more like 95 but I know exactly why so it’s all good.
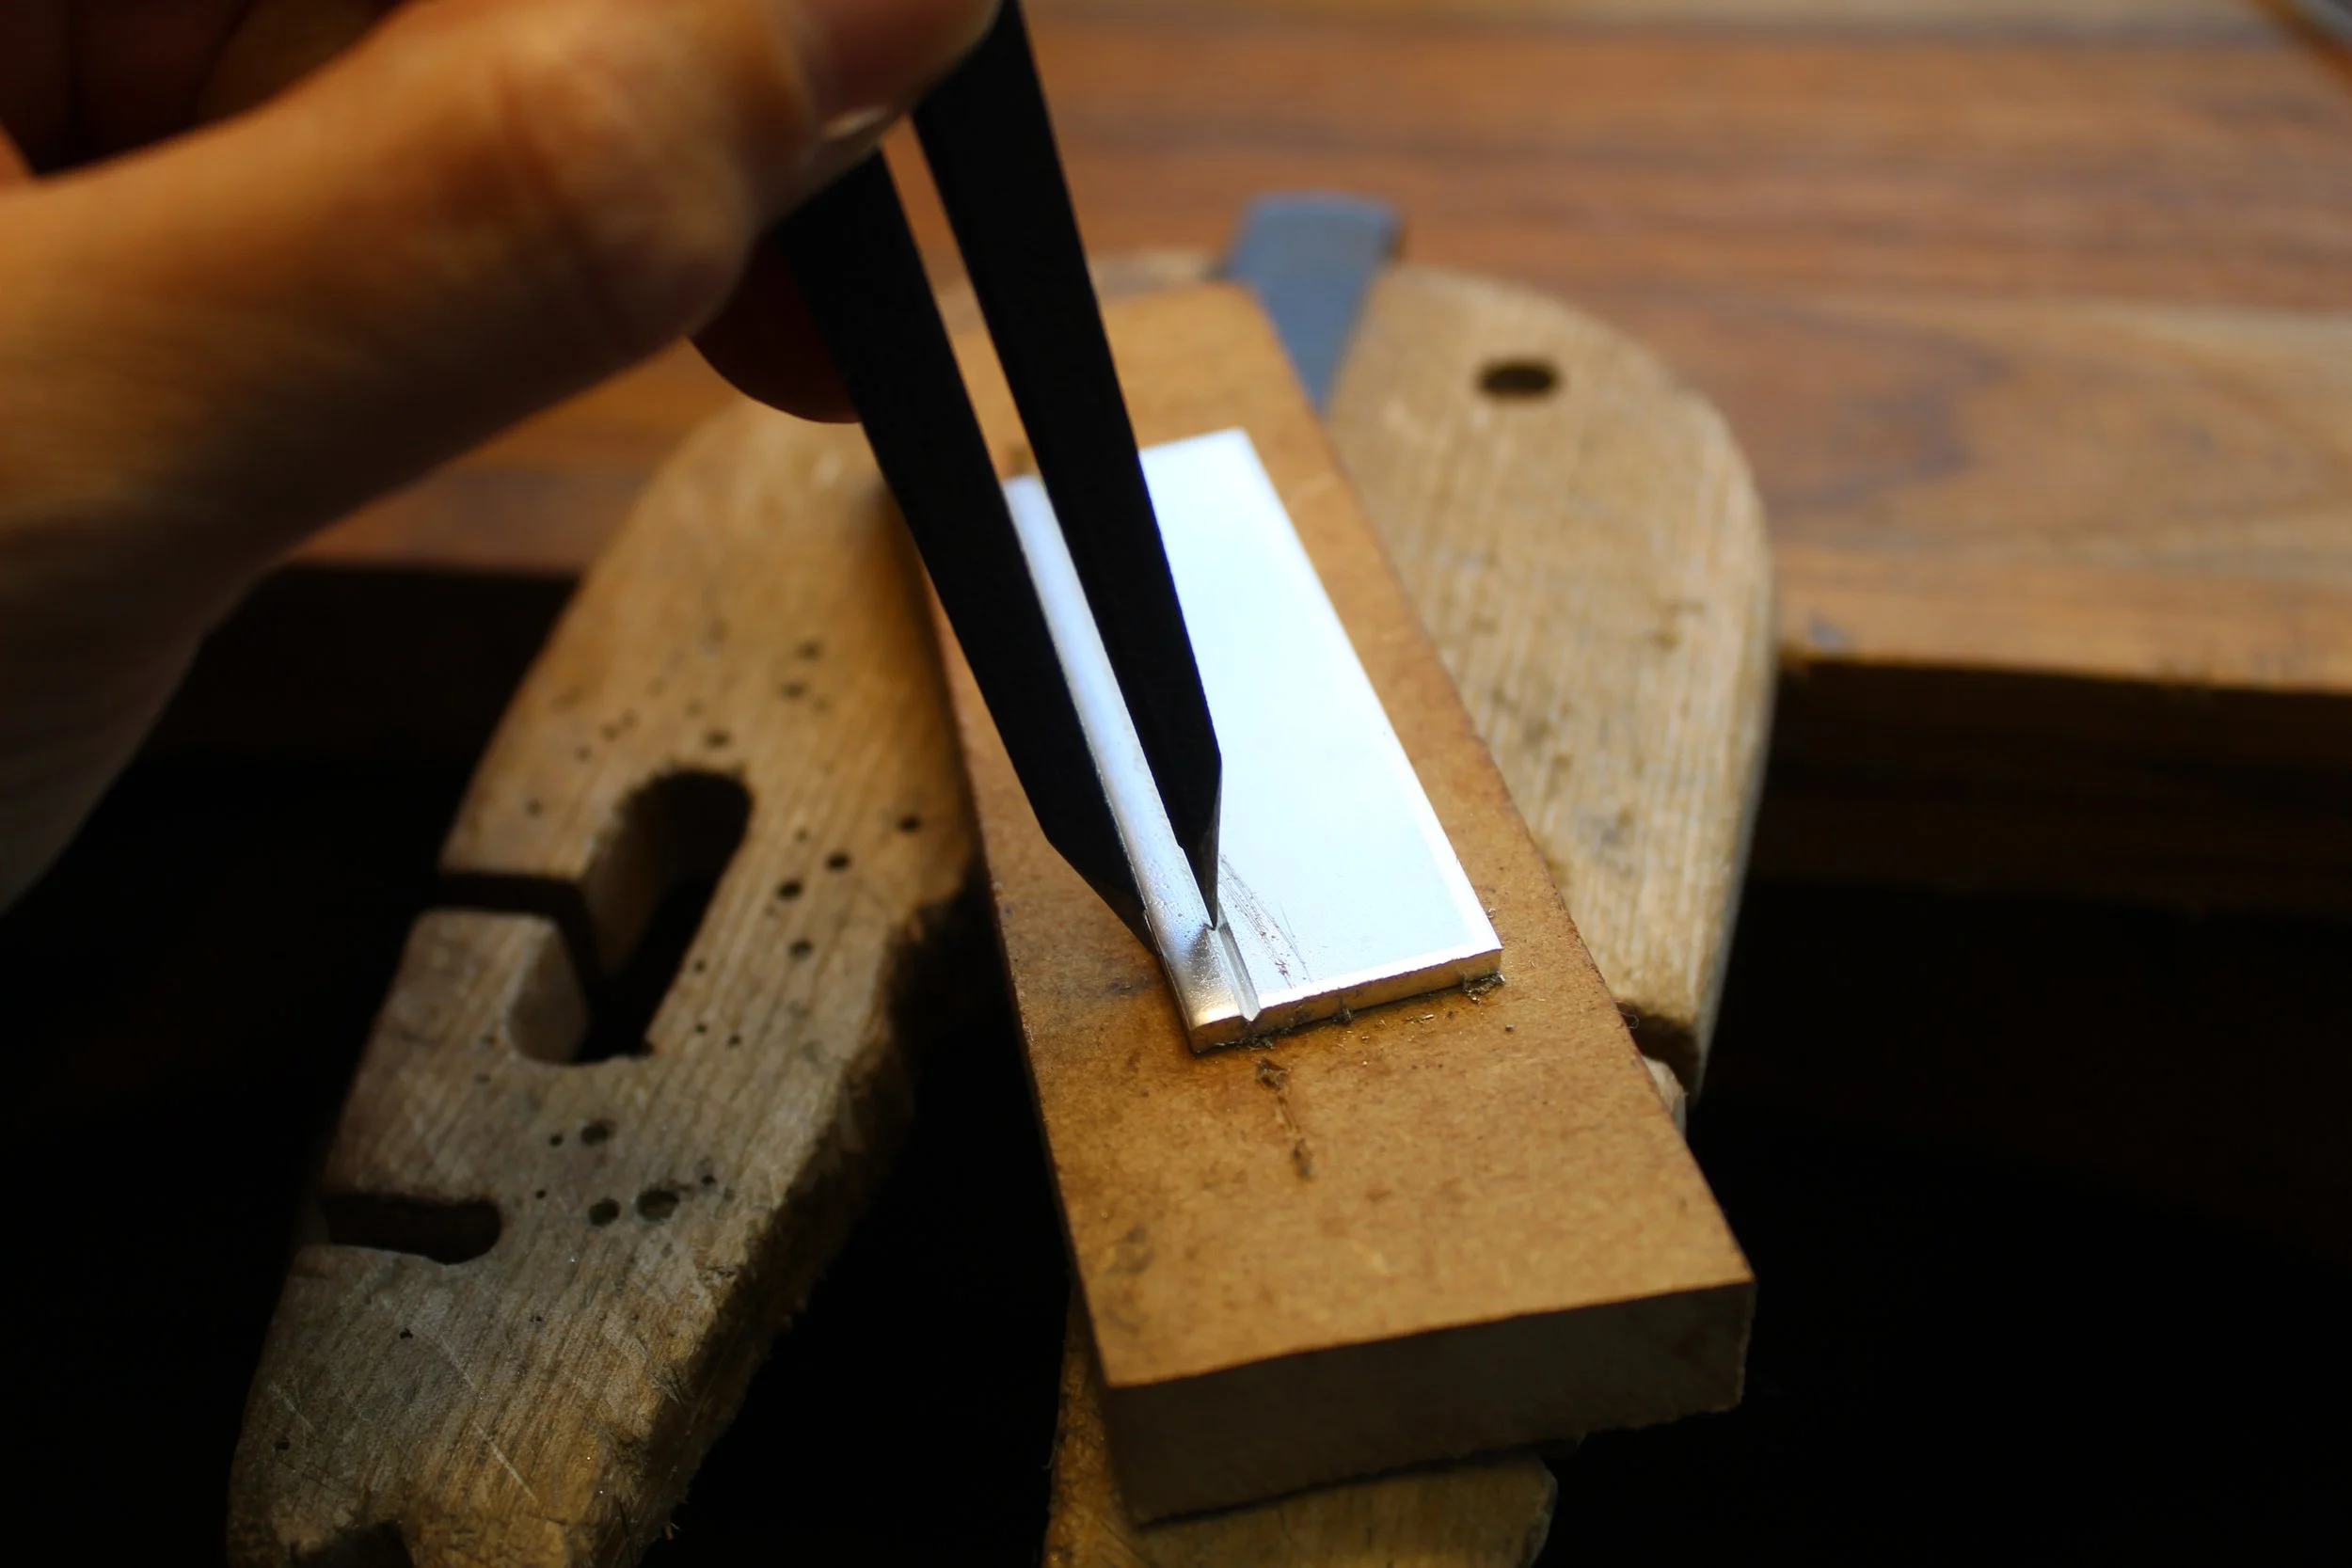
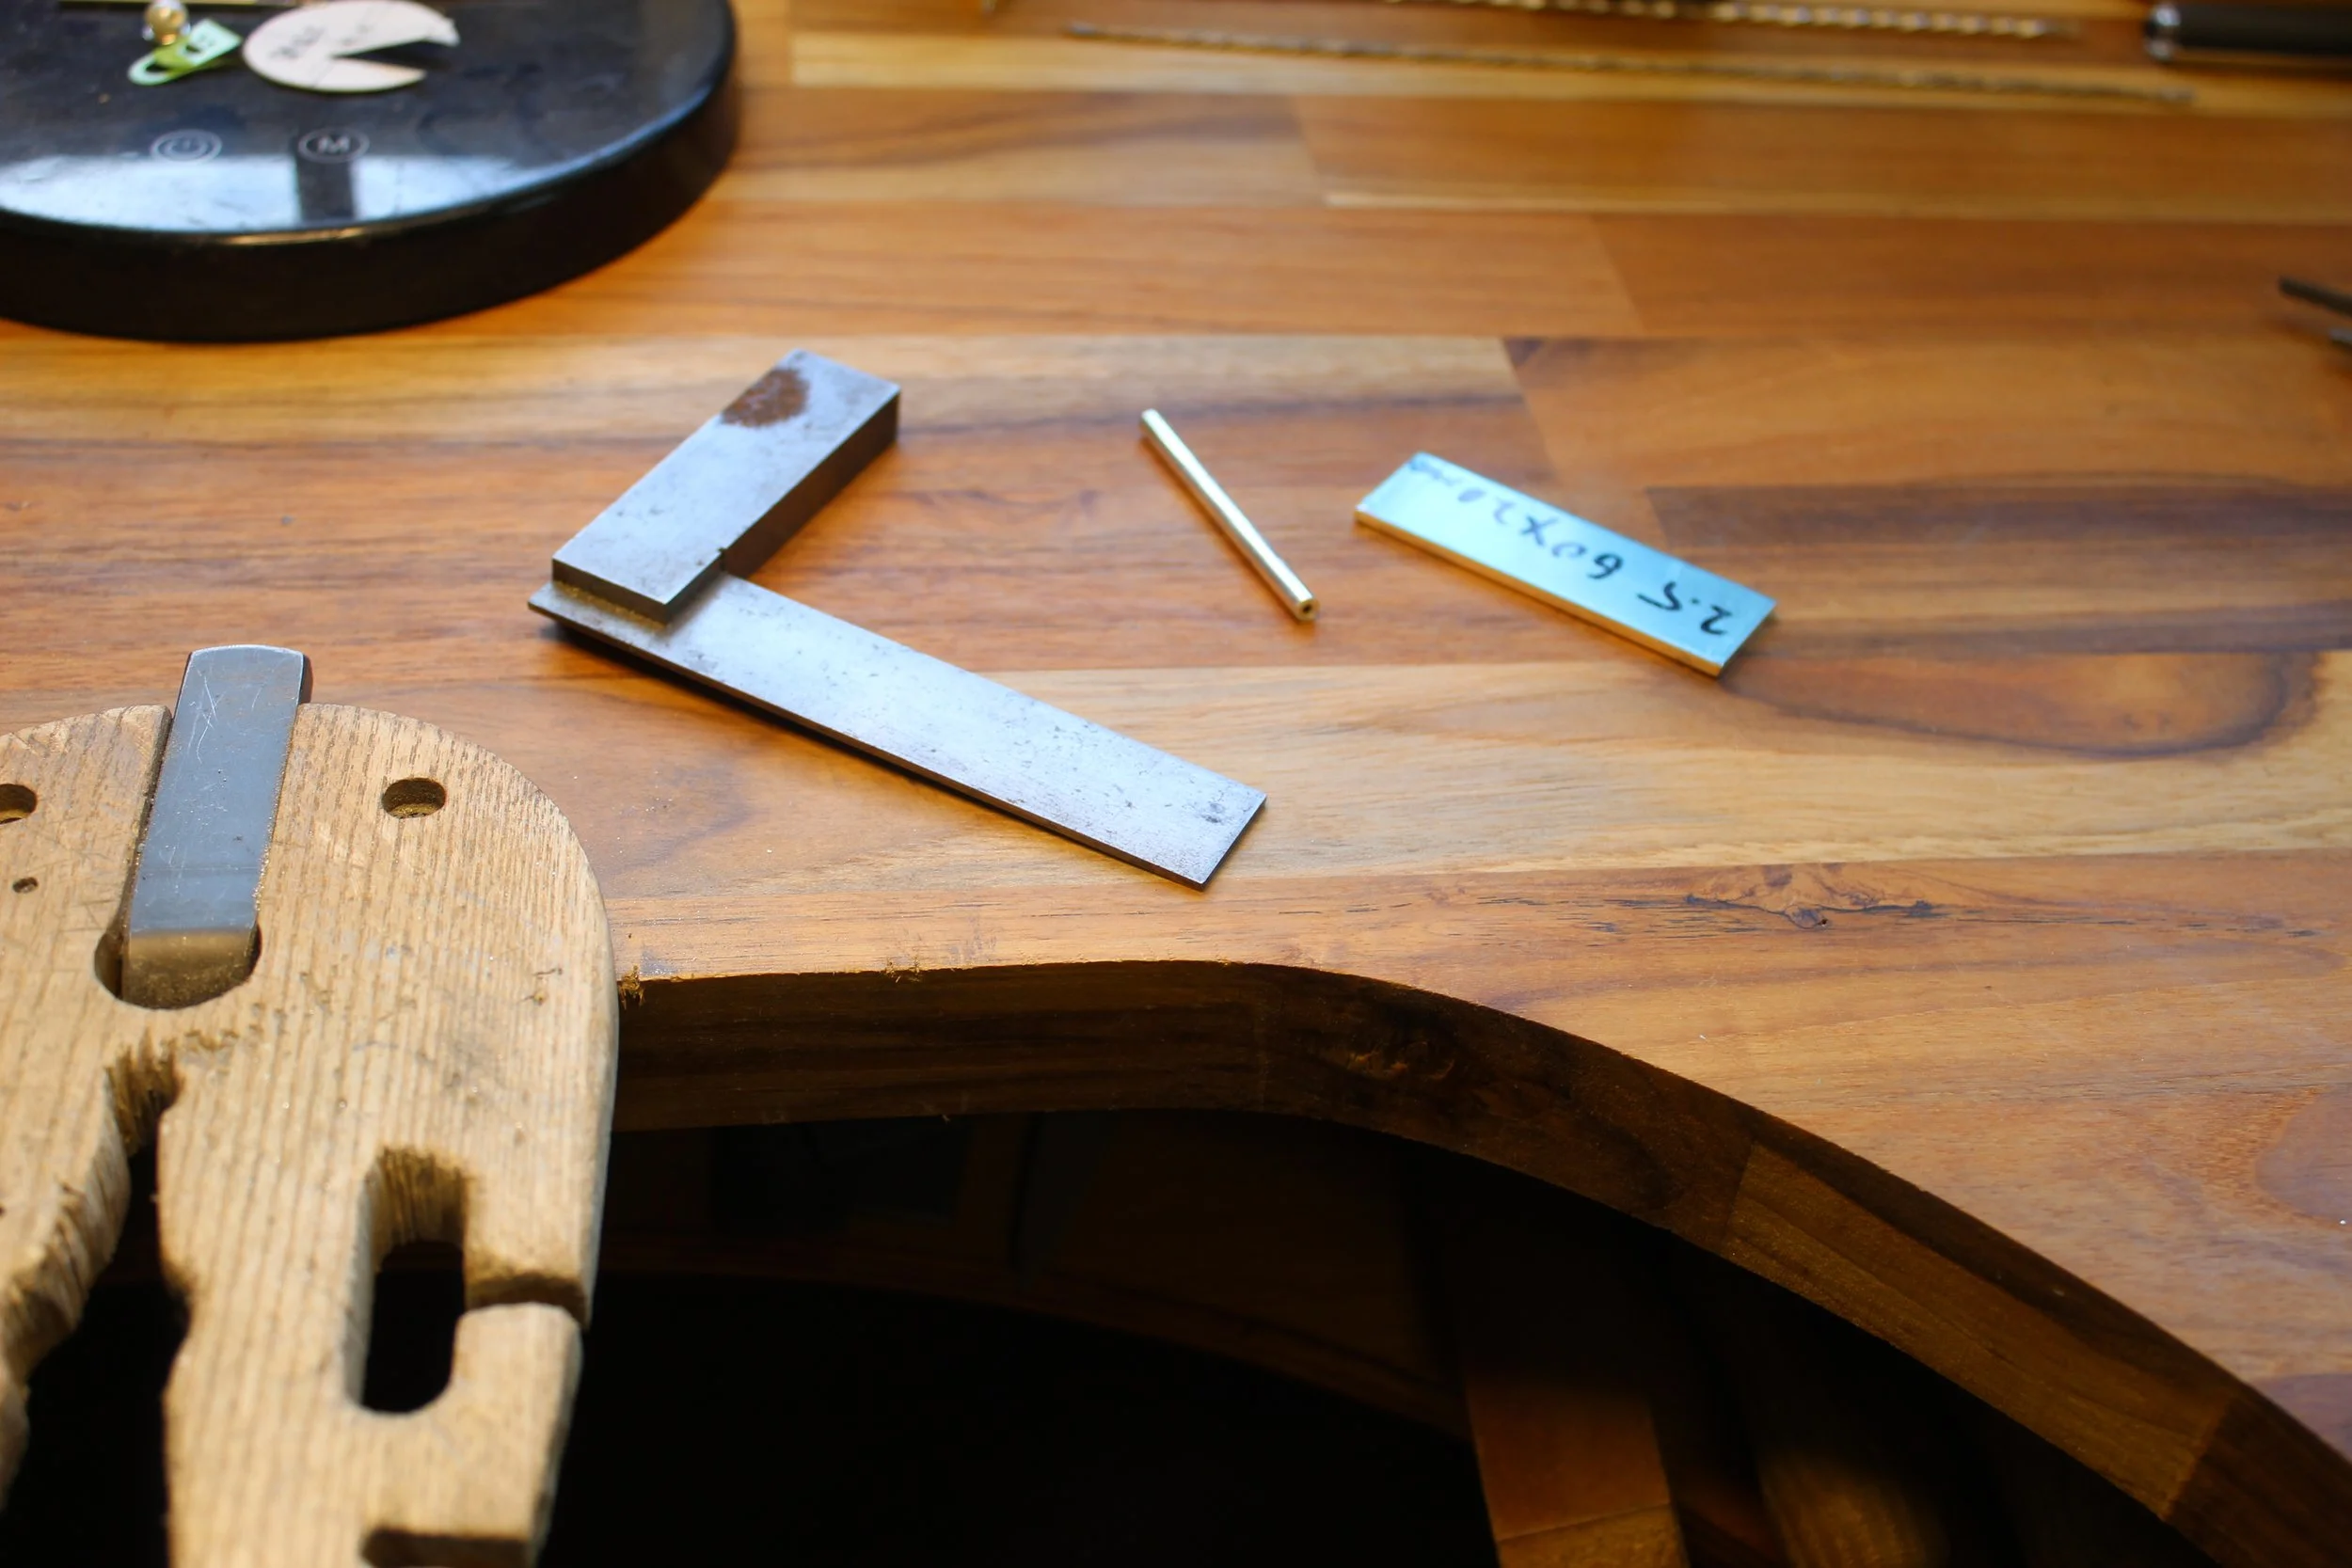
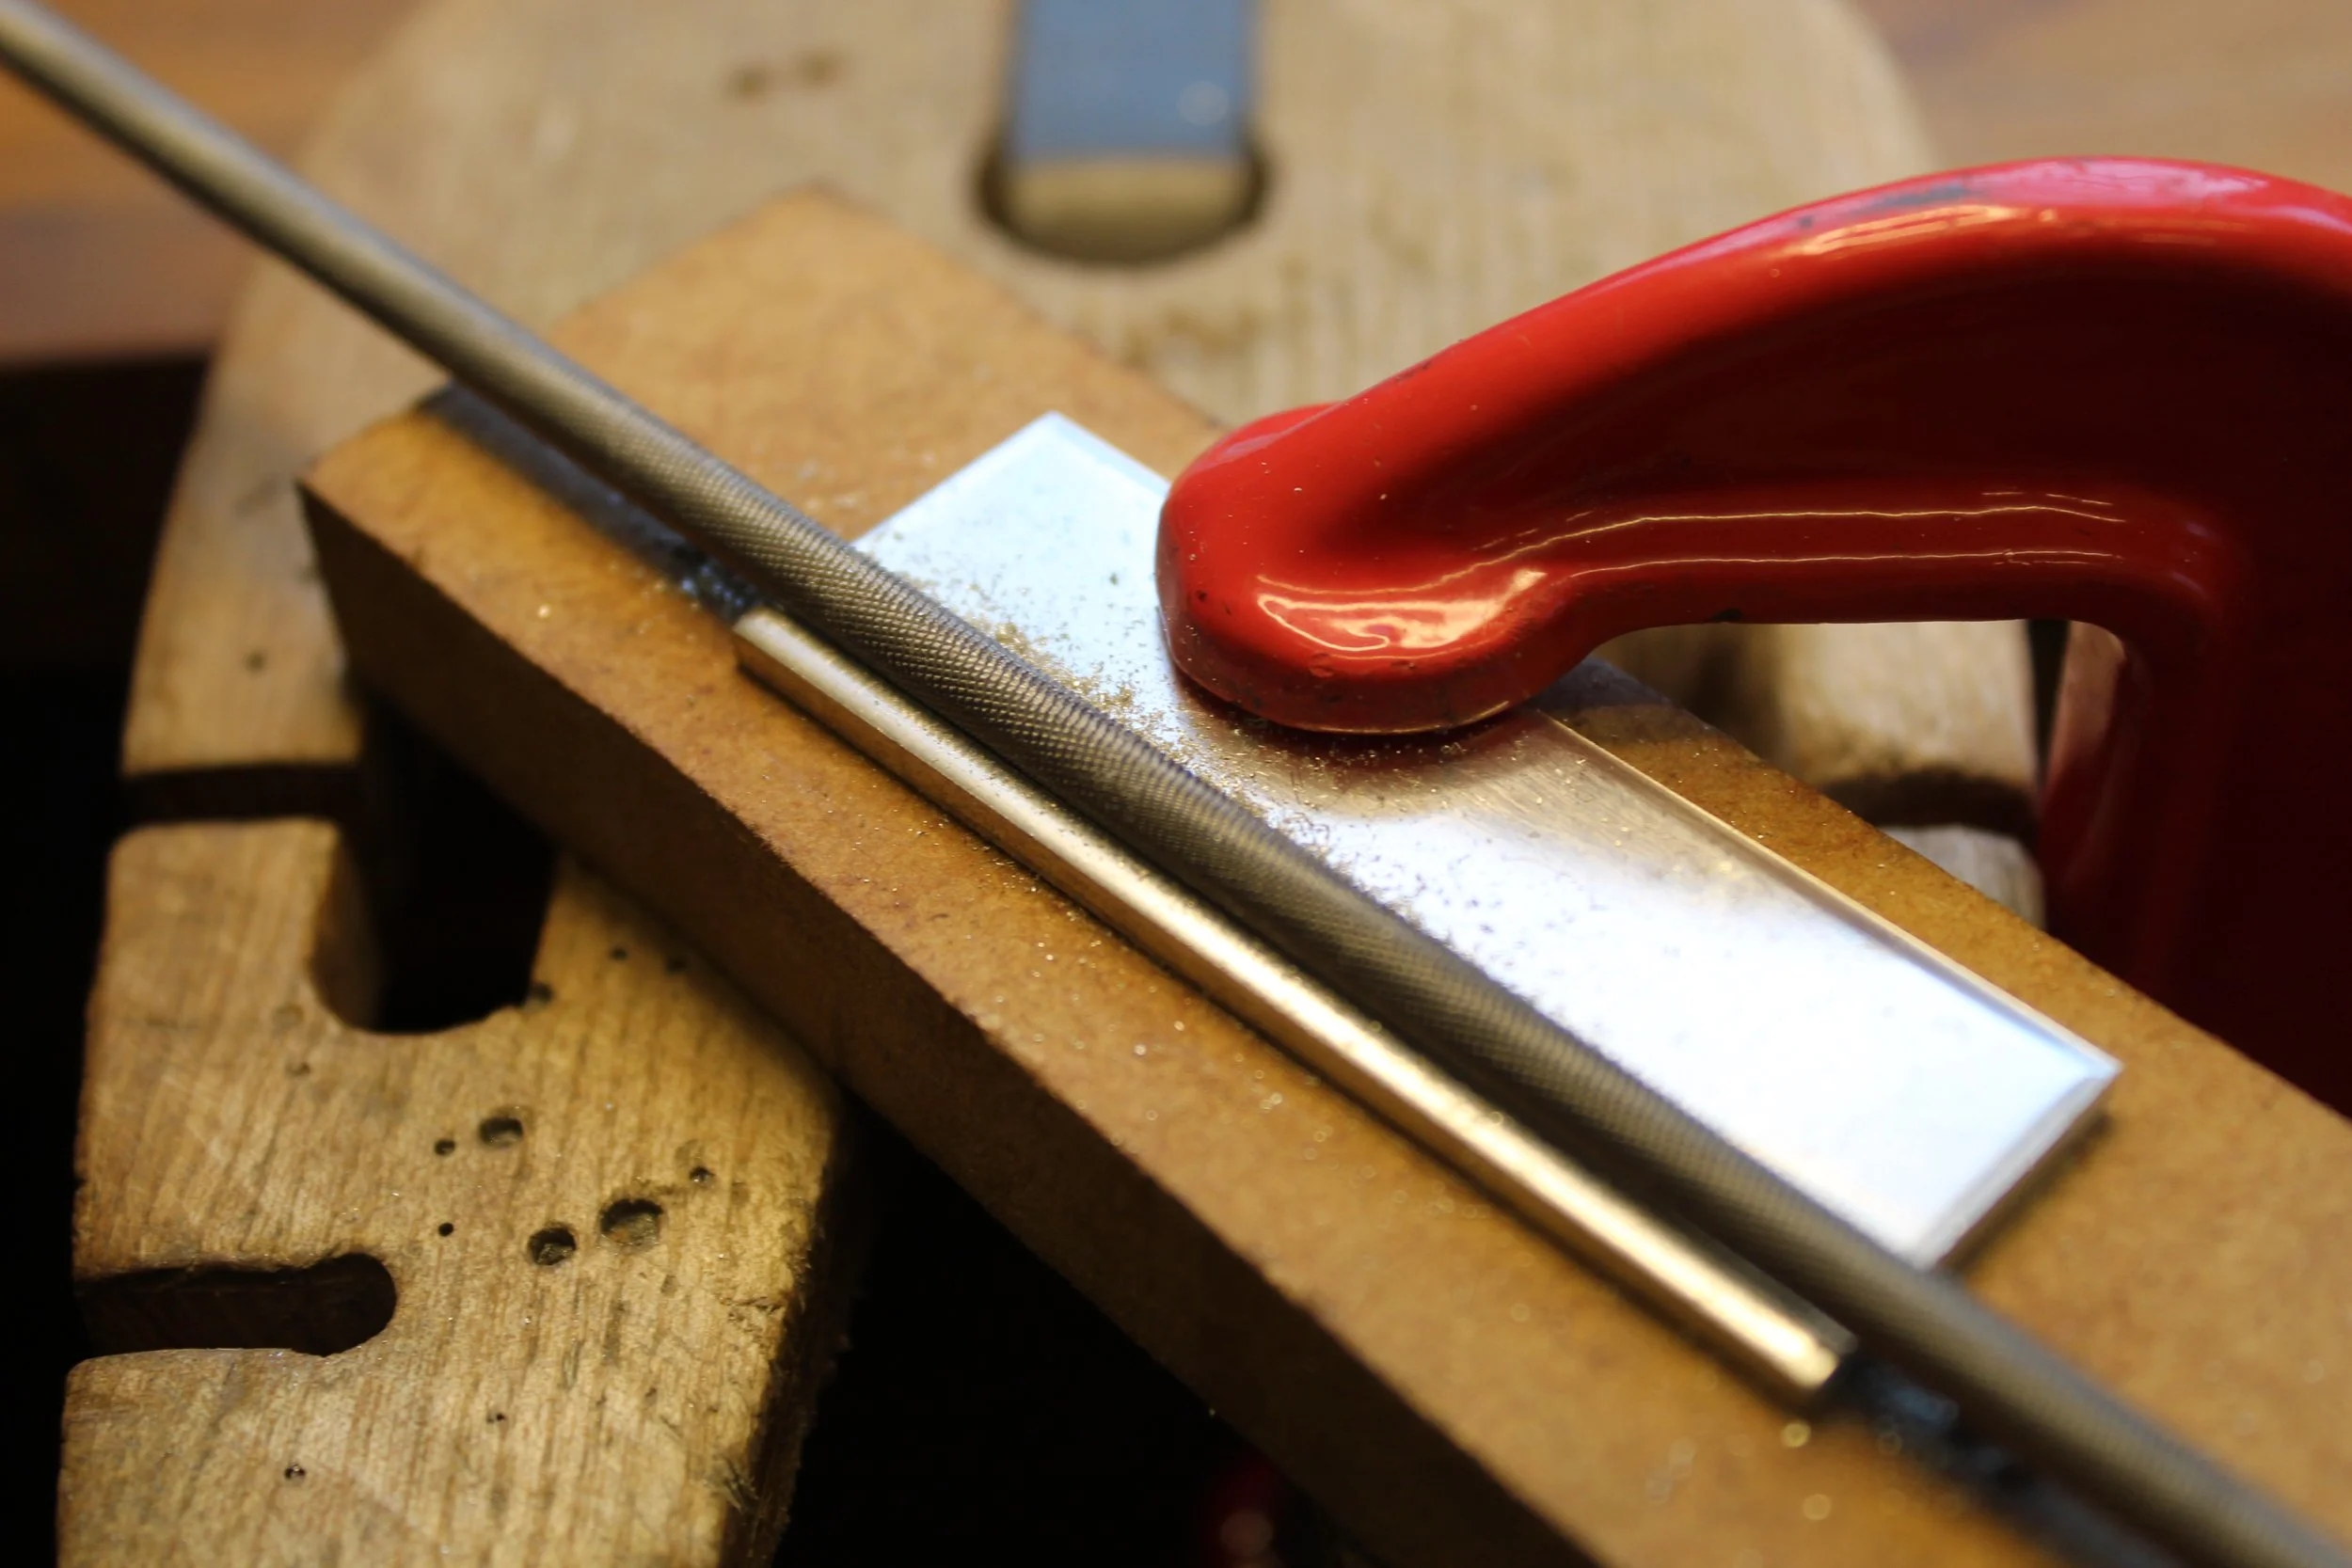
I cannot emphasise enough just how long some of these steps take, and it was interesting to learn that some projects would have their own hinge maker whose job it was to spend their entire time and focus, often more than a week, on the hinge element of an item alone. It only takes one tiny element of one of the steps to be done anything less than perfect and your hinge simply won’t function, will be floppy or open to the correct angle.
I learnt a lot and while I’m happy with my hinge I know exactly where I need to be even better next time I make one.
But for now I’m very content with my hinge and there’s something very satisfying about opening and closing it. Which I’m doing regularly as it’s just so satisfying.
Here are some photos of the process for your amusement and to remind me of the pain of making a hinge!